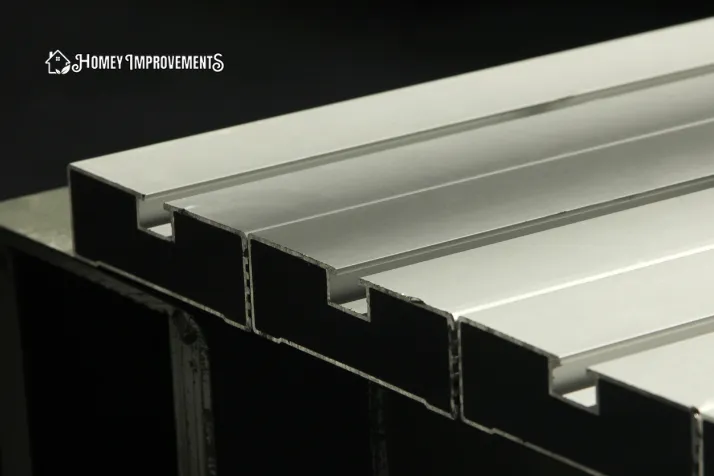
Scrape off all the messy stuff to clean aluminum before painting this surface.
Before applying the new paint, it is necessary to eliminate all the unwanted paint from nearby spots. Sometimes the aluminum surface gets too old or ignored in seasonal cleaning sessions.
You might face grimes, dead plant spills, or tougher stains on your aluminum window, which looks very hectic to clean.
Continue reading to find out the right cleaning method with a DIY attitude:
The Best Way to Clean Aluminum for Painting
- Remove all the visible messes like oil, dirt, grime, or older paint from the aluminum surface before cleaning it.
- To eliminate older paint particles, you can use a scraper, stripper, or heat gun.
- Now start cleaning the aluminum with any commercial or homemade cleaner.
- When you mix the baking soda and vinegar with warm water, then this cleaning solution will clean the aluminum surface perfectly.
- Apply the primer before painting the aluminum so the paint will easily stick to it.
- Now start painting the aluminum surface in a gentle manner.
- If you want more protection from this paint, apply a top coat to increase the life of your aluminum item.
How to Clean Aluminum for Painting?
Following are the steps on cleaning aluminum for paint.
Removing All Visible Paint, Oil, or Dirt and Grime
Before starting to clean make sure you are not cleaning painted aluminum. Just, for instance, you are painting an aluminum boat that has already old paint on it.
First, it is important to learn how to clean painted aluminum pieces. It is totally up to you, whether you want to search for a ready-made aluminum cleaner or go for home remedies.
Baking Soda or Vinegar
- Take ¼ part water and ¾ part baking soda or vinegar.
- Bring the mixture to a boil.
- Pour the boiled mixture over the painted surface and start scrubbing gently.
- The paint will start to peel off after scrubbing for a few minutes.
- Do this on the entire surface to remove the paint.
Although this home remedy will easily remove the paint. But some tools are also mentioned below to get rid of old paintings to clean aluminum before painting again:
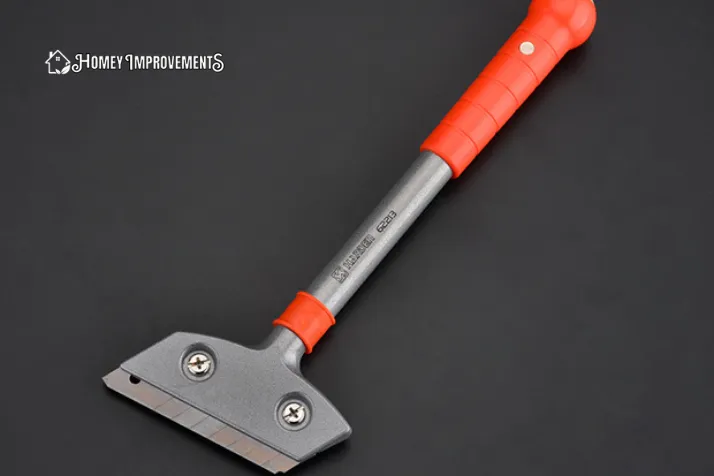
Scraper
It has a plastic blade for soft metals and a metal blade for strong metals. Grab a suitable-sized scraper and start your job. Scraping can create small dust like paint particles so better take precautions.
Stripper
The process of paint stripping is similar to waxing. These come in various forms, but all of them work the same way. Taking precaution, do the following:
- Put in a thick layer of the stripper to the unwanted paint.
- Leave for 30 minutes or overnight. (Read the instructions though.)
- Peel off the stripper by using a scraper, or wipe it off with a soft cloth. You will see the paint also removed with the stripper.
- Repeat until the whole surface is free from paint.
Heat Gun
This melts the paint on the surface. Grab heat-resistant gloves and:
- Start the gun at a low temperature, as too high a temperature can melt the aluminum also.
- Hold the gun a little away from the aluminum surface, with slight to and fro movements.
- Just as the paint is seen removing from the surface, scrape it off at once.
- Do not touch the metal before it is completely cooled.
Precautions
While removing paint from aluminum surface, remember to:
- Perform the paint removal process in an aerated environment.
- Put any inflammable thing away from the working area.
- Take all the protective measures like wearing a protection mask, heat and chemical resistant gloves, safety goggles, and a long-sleeved dress.
- Lay a mat or simply a thick fabric cloth, and perform the activity on it to protect the floor from harmful chemicals.
- If using sandpaper, do not use too rough-textured. This might damage the aluminum surface.
- Properly dispose of the residues and leftovers.
Bonus Tip
Use old toothbrushes for areas that are hard to reach to clean aluminum before painting.
The Final Cleaning Process
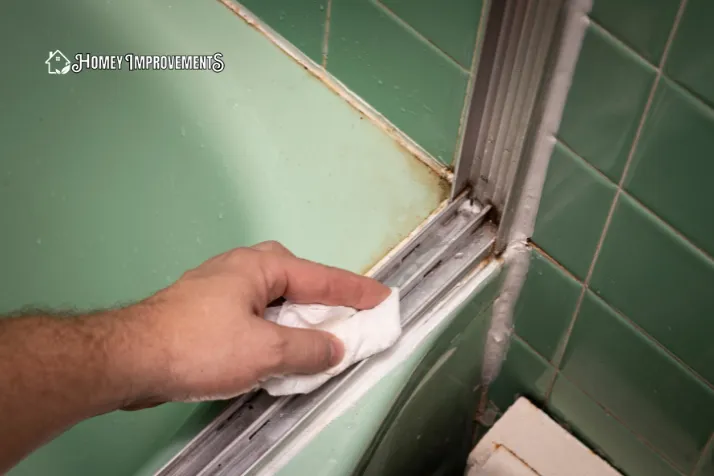
Now, after removing the unwanted paint, it is time to start cleaning aluminum. Find out what to clean aluminum with. The best product for cleaning aluminum can easily be found.
There is a huge number of ready-made products in the market. But instead of using harsh chemicals, it is better to try some home remedies.
If those remedies do not work, you can search for the best product to clean aluminum before painting. Try to apply the DIYs that clean aluminum perfectly.
- The remedy of baking soda or vinegar, mentioned above for removing paint, would clean the surface also. But it is not a good idea if the aluminum has no old paint since it will discolor the item.
- An easy and effective way is to wash the aluminum item with a mild detergent or soap. And then leave for some time to let it dry.
Applying the Primer
Aluminum does not allow the paint to stick to it, so it is an important step to prime the surface before applying the paint. Primers for painting come in various forms.
It is recommended to use in spray form. Apply the primer for etching aluminum before painting. You would need to apply a few layers of the primer. Leave for a few hours to become dry.
This is how to prepare aluminum for painting.
Applying the Paint
So, this is the step for which all the above steps are to be taken. The above methods were about how to prep aluminum for paint.
And here comes the actual painting. But the painting itself is not that simple as well. There are techniques for applying this.
Follow the following points:
- Choose a paint based on where you are going to place that aluminum item. If you are planning to keep it outdoors, then purchase a paint that is immune to the weather changes.
- Choose a color that you want, however, it is better to go for metallic colors. Do not buy glossy paints.
- Apply white color first as a base for best results.
- Look on the packaging to see how many layers of paint are recommended to apply.
- Paint carefully in a gentle manner to have a smooth surface after drying.
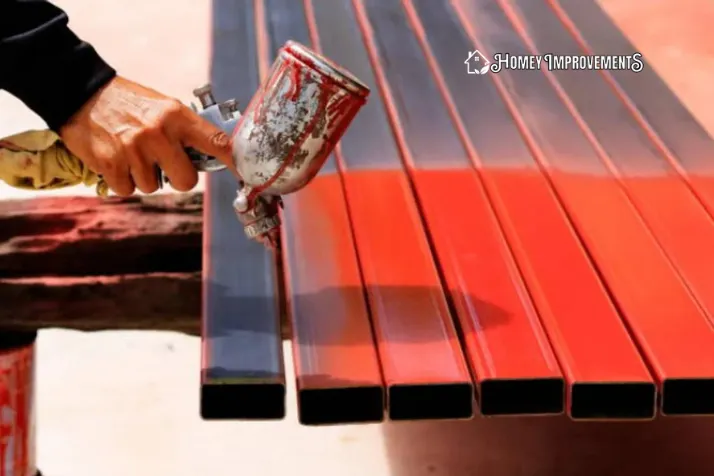
- The paints are available in two forms; spray paint or applying through a brush. Choose the one that is easy for you.
- Apply the paint from a distance and take all the other protective measures also.
- Let it dry for at least a day, or follow the guideline on the packaging.
Applying the Topcoat
Although this step is optional, it will protect the paint from peeling off. Moreover, it is beneficial for aluminum also. This will increase the life of the item even if you use it roughly.
- You need to apply multiple layers of the topcoat.
- Leave it for drying. (Read the instructions on the label).
Conclusion
That was all about cleaning aluminum before applying paint on it. Protect the surroundings while painting. Take all the precautions. Breathe carefully to protect yourself from inhaling toxic chemicals.


Leave a Reply