If you feel an ugly odor from your bathroom or notice collected water on the surface, it’s time to replace a toilet wax ring.
The wax ring is the major component of any toilet which is sealed at the bottom of the seat. It helps to connect the toilet with the sewer pipe and can be the major source of water leakage in your bathroom.
Although it may not happen often, still you have to learn this replacement, which can be done with minimal tools and effort. Let’s see how you can accomplish this DIY task:
How to Replace a Toilet Wax Ring?
- Empty the toilet and detach it from its location to eliminate the old wax seal.
- Once you have replaced the toilet flange bolts, you can easily position your newer wax ring at its origin.
- Further, you should reattach the toilet seat by taking assistance and connecting the bolts again.
- Finally, a caulking toilet base is necessary to decorate your bathroom floor.
What to Consider Before Buying a Wax Ring?
If you notice water leakage in your bathroom and try to put some caulk around the toilet, it might be stopped but only for a shorter period.
The ultimate solution to this matter is to replace the toilet ring; rather, you should say the wax ring of your toilet to remove this glitch permanently from your bathroom.
Replacing a wax ring on a toilet doesn’t take much effort; it is an easy DIY project that any homeowner with minimal tools can handle. The flange repair kit is also available for this installation.
You will definitely see the standard wax ring, built-in flange wax ring, extra-think wax, or wax-free ring in any hardware store, and you are confused about choosing the right one.
Here, the right option is to consider a whole new toilet set having all the additional accessories in its box. It will ease up your job, and you will never think much about these extra attachments to your toilet.
Tools and Materials Required
- Small Hack Saw
- Adjustable Wrenches
- Toilet Plunger
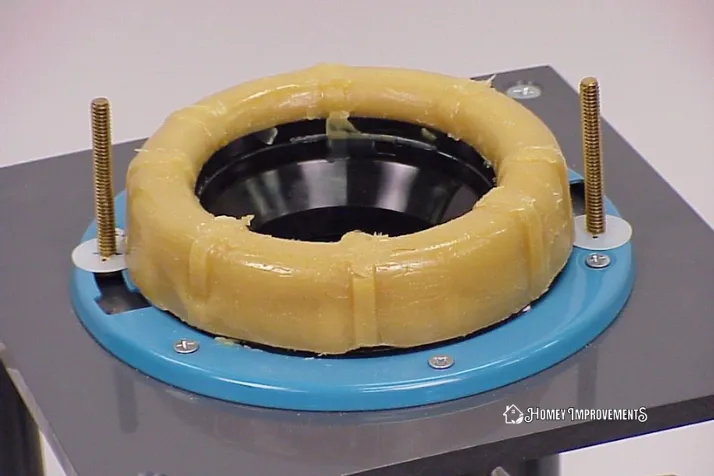
- Toilet Wax Ring
- Mounting Kit
- Adjustable Wrench
- Water Supply Line Hose
- Plumber Tape
- Floor Covering
How to Replace the Wax Ring – Step by Step Instructions
The process of replacing the wax ring is not so complicated but requires more attention to attaching all the toilet components to the right fixture. You have to check the status of the tank or its supply tube for any leakage issues.
If you feel any dipping water at the bottom of the toilet seat, then you should prevent the wastage of water by replacing the wax ring along with all its additional parts:
 Step 1. Empty the Toilet and Relocate it
Initially, you need to disconnect the water supply pipe of your toilet before starting this DIY project. Never forget to drain a toilet at once to empty the toilet bowl completely. You must shut off the water supply line and remove the tank lid from the toilet bowl.
It is also essential to detach the toilet and move it to a safer place. It will also give you plenty of room to work on the wax ring toilet. If you feel any difficulty in lifting the toilet seat, you should break the old wax seal by moving it in multiple directions.
 Step 2. Inspect the Existing Wax Ring
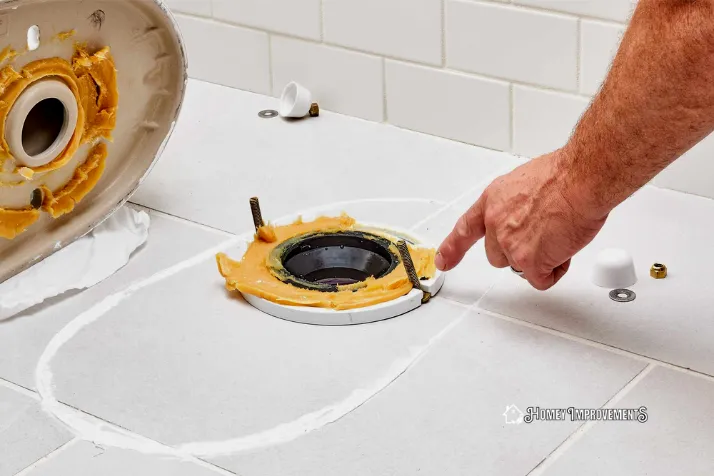
Before touching your older wax ring, wearing waterproof cleaning gloves is highly recommended. You can use a smaller hack saw or putty knife to get rid of existing wax from the floor surface. You can scrape it off to finish this procedure if you see older caulk.
 Step 3. Replace the Toilet Flange Bolts
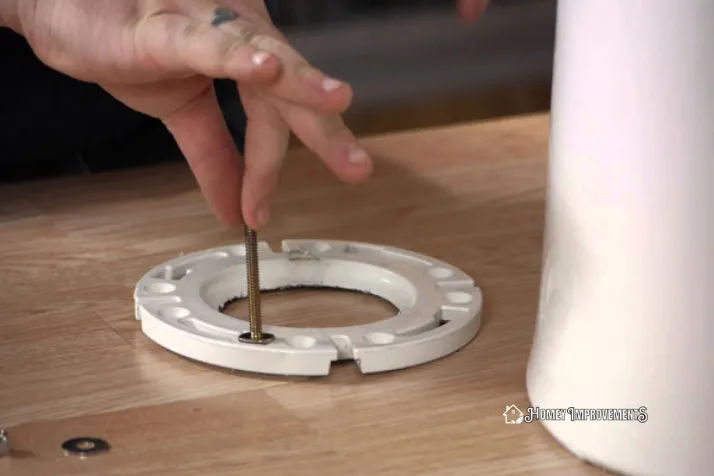
To remove toilet flange bolts, you have to inspect them. If they are still in good condition, you can continue with them; otherwise, installing the newer one after installing the toilet flange is better.
The bolts should be positioned accurately with the toilet flange if you want to replace the wax ring on the toilet appropriately. Here you can insert the required spacers to fix these bolts sturdily.
 Step 4. Attach the Wax Ring
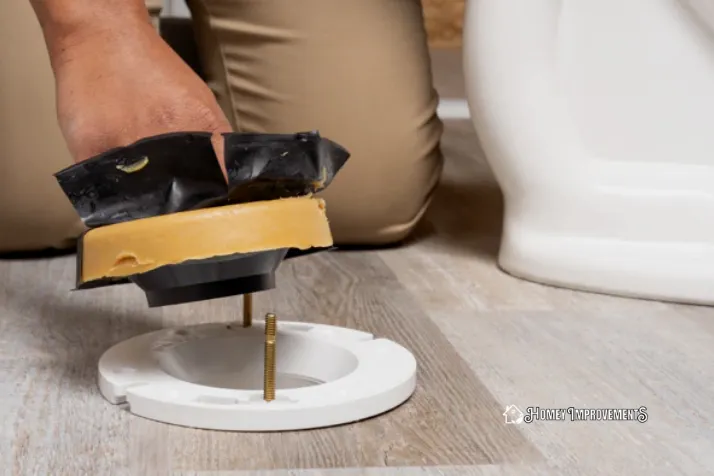
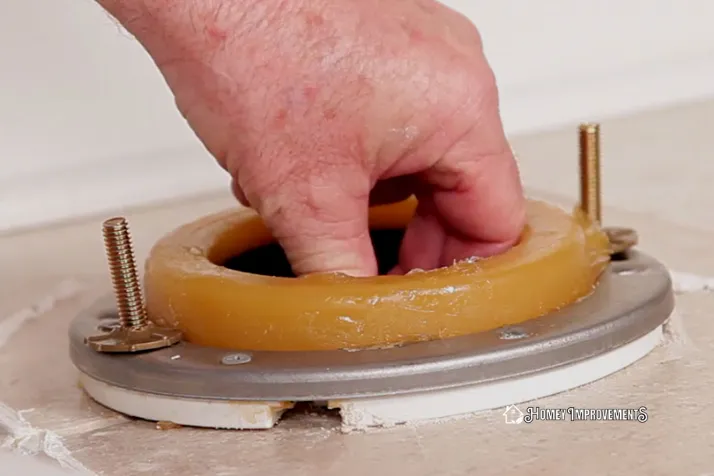
It’s the right time to place your newer wax ring at the center of your flange. I can hope that you have taken all the measurements before starting this wax ring replacement and bring this new wax seal from your local store accordingly.
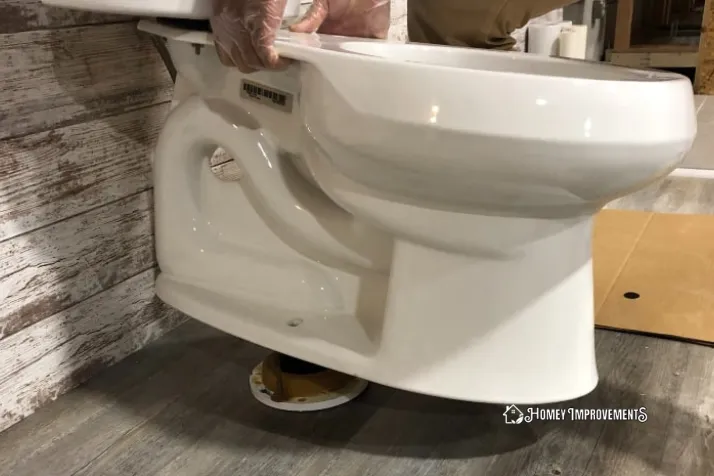
You can pick the home depot wax ring from their online platform too. Now get ready to pick the toilet seat again. You have to take assistance from other family members to hold this seat. It will give you the luxury to level the bolts perfectly on the new wax ring.
 Step 5. Bolt the Toilet Back into Place
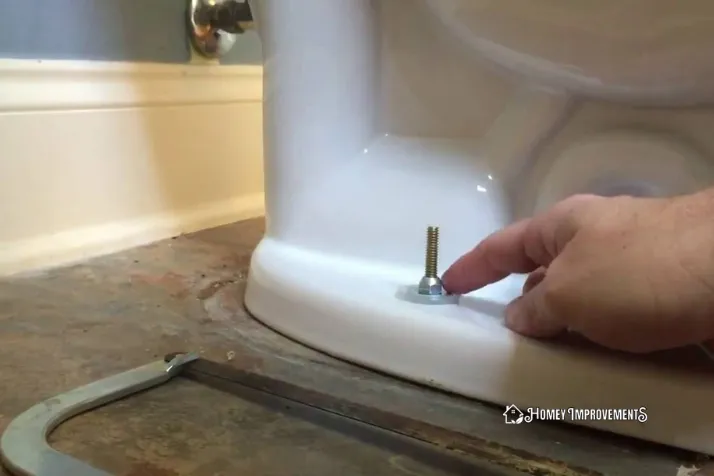
Now put the washers and bolts on the right level from where you removed them. You can tighten them with an adjustable wrench.
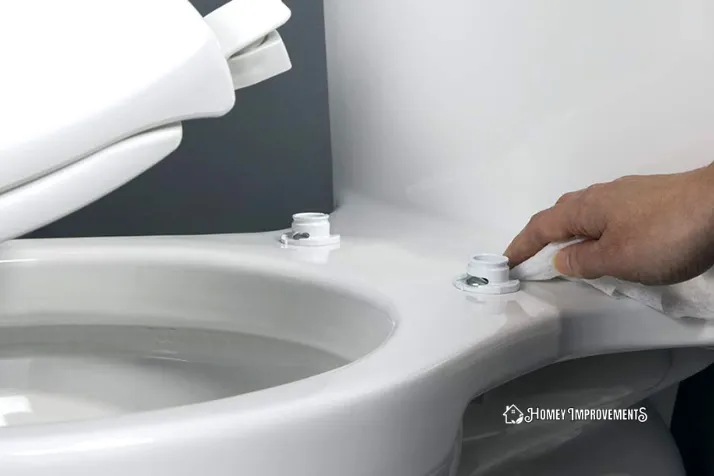
Once the toilet is firmly placed at the right location, you can cut the extra bolt length with the saw. The decorative caps can also be installed on these bolts to beautify your toilet seat.
 Step 6. Reconnect the Toilet and Check the Wax Ring
If you bring the plumber’s tape, apply it around the toilet for a fresher look. Now you should reconnect the water supply line from its valve to examine the toilet wax seal. You can flush the water multiple times to check its flow and any leakage issue before sealing a bathroom.
It is better to inspect the water leakage issue the next day or at least after some hours for an excellent review because sometimes water may escape from the seal one or two times at the early stages.
 Step 7. Seal the Toilet with Caulk
Once you are 100% sure there is no leakage issue or outflow of water, you should caulk the toilet base for a perfect floor finish.
This process will also halt the water leakage source and discourage drainage from the tank or other fixtures. For the caulking toilet base, you should adopt the best caulk for shower floors and seal the toilet perfectly.
Useful Tips about Toilet Repair
Follow these essential tricks and toilet repair tips for the best outcomes:
- Thoroughly inspect your toilet before moving to the market for purchase.
- If you see any leakage issue in the bathroom, replace the flush valve instantly.
- Attach a new pair of t-bolts with the wax seal already available in every toilet set.
- Always install a new toilet wax ring when you plan to replace your existing toilet.
- If you notice plenty of water on your bathroom floor or nearby places of the toilet, then it’s time to replace a toilet wax ring with its complete setup.
- Take assistance from the second person while injecting the bolts into toilet holes. Most toilet seats are heavier, which is difficult to loft and fix in the bolts simultaneously.
- Fix the toilet seat a bit wobbly so it never cracks on excessive use.
It’s Time to Replace Your Toilet Wax Ring
It is important to know when you should do this replacement. You will get some important clues about toilet wax ring replacement which needs to be caught on time:
- The major concern here is the leakage problem. You must react quickly whenever you notice this issue and purchase the entire toilet set. To fix this problem, installing a new pair of T-bolts and wax ring with your brand new toilet is important.
- If you see plenty of water collecting in the toilet nearby, it will damage the floor; it’s the right time to decorate your bathroom with an innovative toilet to protect the surface.
- You may also need to replace your toilet set if the seat wobbles too much. The wax seal, T-bolts, anchor flange, and all the remaining attachments should be installed with the toilet.
Cost of Toilet Wax Ring
The prices of this DIY project are another vital aspect to be discussed here. The total cost of a wax ring for toilet installation might be beyond your thoughts. You will get a wax ring for just $5, but a top-quality brand product may go up to $30.
Must remember that this price is only for a wax ring, not for the entire set of any toilet brand. You have to purchase the T-bolts or closet flange separately.
If you are lifting the toilet for wax ring replacement, then it is better to replace this entire setup once in a year or two to fix all the glitches in your bathroom.
FAQs – Frequently Asked Questions
How Often Should you Replace the Wax Ring on A Toilet?
The toilet wax ring doesn’t require any maintenance and should be replaced when the wax ring gets crumbled or dried up. You will get some clues about this dryness and needs to exchange them before any leakage issue.
How Long Does it Take to Replace a Wax Ring on A Toilet?
The replacement job of a toilet wax ring takes two to three hours in a routine. You just need to place a wax ring at its position and attach a new toilet with the given bolts. Any homeowner can do this task with a DIY approach.
How Do I Know if My Toilet Needs a New Wax Ring?
If you notice plenty of water around the toilet base or on your bathroom floor, it is a clear sign of this replacement. You will also feel an ugly odor from your toilet and water leakage issues in this place. Now it’s time to call a toilet repair or sleeve up and get ready yourself for this simple task.
Do I Put the Wax Ring on The Toilet or the Flange?
You must place the toilet wax ring evenly on the closet flange and fix the bolts in the right holes. Further, push the toilet down on this ring and set the wax at its origin.
How Do I Know Which Wax Ring to Buy?
It is better to determine the measurement of your installed wax ring from the bottom of your toilet. The width of this ring is usually 3 inches, so you have to buy a 3-inch wax ring for your bathroom.
The Bottom Line
Never hesitate to call a professional for this job if you don’t like to replace a toilet wax ring. Although it is a simple DIY project, some folks never do their bathroom fixtures.
If you feel a wobbly toilet seat or collected water at nearby places of the toilet, then it’s time to replace this setup.
It’s a good idea to transform the entire toilet setup into a more innovative toilet design once a year. It will surely replace the additional attachments of this toilet set and eliminate all the glitches at once.
 Step 1. Empty the Toilet and Relocate it
 Step 2. Inspect the Existing Wax Ring
 Step 5. Bolt the Toilet Back into Place
 Step 6. Reconnect the Toilet and Check the Wax Ring
 Step 7. Seal the Toilet with Caulk
Leave a Reply