Ceramic tile flooring is ideal for halls, kitchens, and bathrooms because they are highly resistant to water and are simple and durable.
Most homeowners prefer to install ceramic floors professionally, but you can also DIY them. Do you want to know how to install ceramic tile?
Installing ceramic tile by a DIY route is inexpensive, and it’s not so difficult. Preparation is the key to get successful ceramic tile installation. If you have all the tools and materials, tiling work is not difficult for you.
How to Install Ceramic Tile the Easy Way?
- First, prepare the substrate to get a strong floor of ceramic tile.
- Lay the tiles on the floor without a thin-set to get an idea.
- Spread the mortar across the tiles using a trowel.
- Start laying the tiles over the mortar and keep pressing gently.
- Cut the tiles if required.
- Install grout in the seams.
- Remove the grout haze using a sponge.
- Finally, seal the grout lines.
Tools and Materials Required
- A tool to cut tiles
- Tile
- Tweezers
- Thinset mortar
- Rubber float
- Grout
- Grout haze remover
- Uneven tile trowel
- Grout sealer
- Flat boundary trowel
- Cement backer board
- Rubber hammer
- Fiberglass seam adhesive tape
- Spacers
- Gloves
- Sponges
- Buckets
- Safety glasses
- Measurement tape
- Framing square
- Chalk
- 2 x 4 scrap wood
- Level
Steps for Ceramic Tile Installation
Step 1. Prepare the Substrate
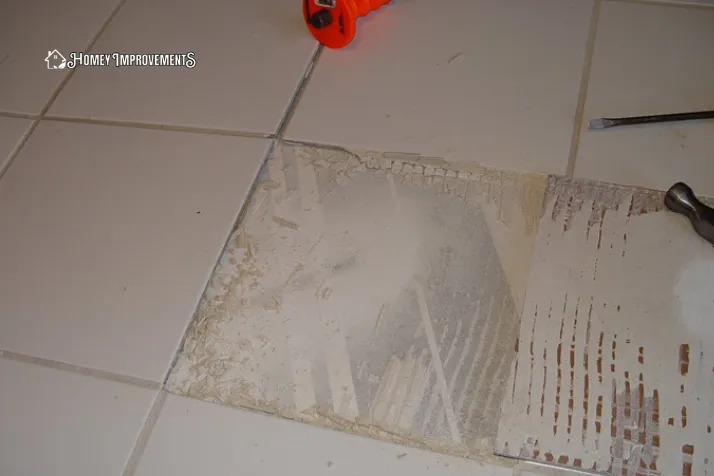
Tiles of ceramic are not durable without a firm substrate. You have to lay it on top of a fixed floor with no gaps and unevenness. If the subfloor is concrete, then ceramic tiles can be installed directly.
However, if you have to install ceramic tiles with wood frames, cement board substrate will provide strength to the floor. The cement board delivers a perfect rigid substrate to install the ceramic floor tile.
Put a layer of thin-set mortar over the subfloor and install cement board panels on it.
Furthermore, screw the panels to the subfloor eight inches distance apart. Before filling the seams with thin-set, use fiberglass seam tape on them. Now leave it to cure completely.
Step 2. Put Tile on Floor to Get Idea
This step is important before you begin installing ceramic floor tile. To find out each wall’s center point, take measurements of all the walls.
Draw a line with a chalk between each of the opposite walls. In this way, a cross pattern will be made. On each arm of the cross, put tile and tile spacers in a line without grout or mortar.
The purpose of doing this is to get an idea to avoid laying cut tiles on the wall because this creates a bad look.
The cross-like tiles can be shifted in any direction if required. The half tiles should come at the borders of the floor. When picking the tiles, stack them carefully so that you remember which tile comes in which place.
Step 3. Spreading the Mortar
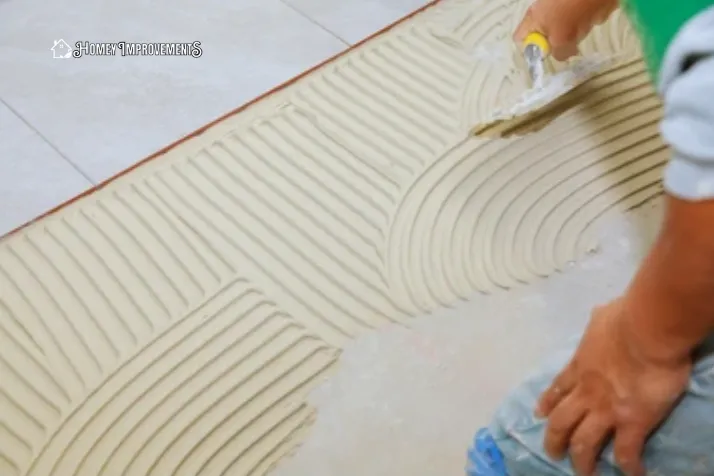
Put a small, thin-set mortar with a trowel on the cement board. Hold the notched trowel with the flat side, which should be at an angle of 45 degrees.
Spread the mortar on the surface, including an area larger than the size of the tile. Hold the notched side of the trowel at an angle of 45 degrees and press the trowel to the cement board.
Pull the trowel in straight lines by combing the thin-set. The trowel notches automatically control the quantity of thin-set placed on the surface.
Step 4. Laying Ceramic Floor Tile
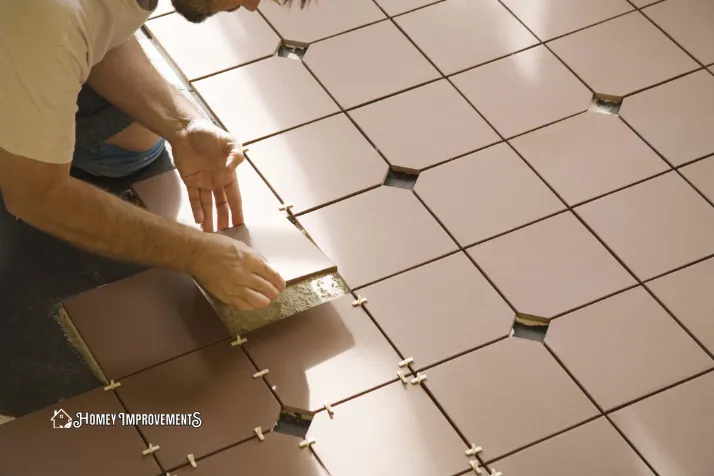
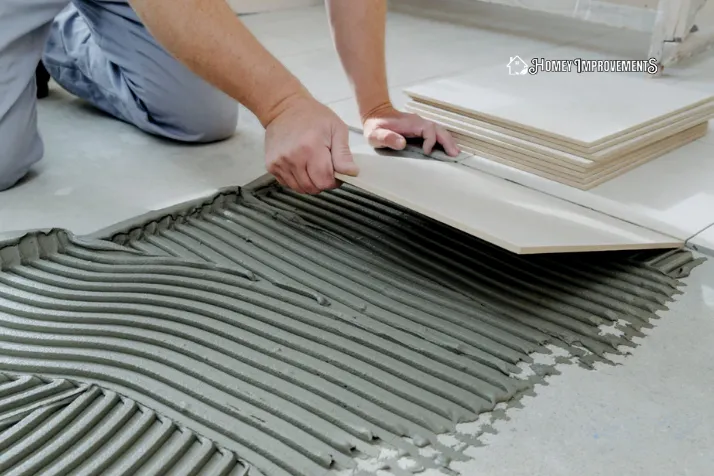
Lay ceramic tile on the wet thin-set and slightly press it. To press the tile deeper into the thin-set, twist it back and forth. There must be no folds in the mortar, and gaps must be filled.
Occasionally, pick a tile and check its back to ensure its full coverage. When you move from one tile to the next, tile spacers must be placed at the corners to keep constant spacing.
When you reach tiling to the walls, cabinets, and other elements of the room, an expansion gap of 1/4 inch must be left. These gaps should not be filled by mortar.
To check the level of tiles, place the level on different areas of the tiles. Lightly use a rubber hammer to level the tiles.
Step 5. Cut the Edge Tiles
If you have to cut only a few tiles, the rail tile cutter will be cost-effective. You can place the snapped and uneven sides against the wall because the baseboard will cover them.
You must buy or rent a wet tile saw to get perfectly straight cuts. Tile nipper is used for curved cuts such as cutting areas around the pipes, toilet bases, etc.
For every type of tile cutting, it is necessary to wear safety glasses to avoid damaging your eyes.
Step 6. Grouting the Tiles
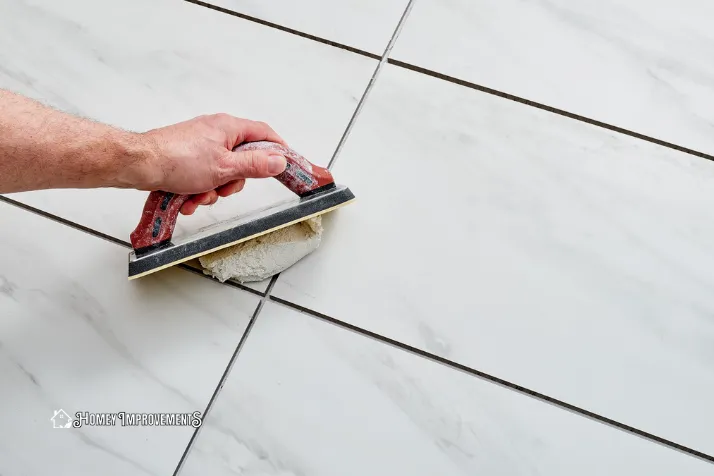
After picking out the tile spacers, put grout on the tiles and press it into the seams using a rubber float. Grouting must be done in small sections.
Hold the float at an angle of 45 degrees and keep pressing the grout to get into the seams properly. It would be best if you moved the float diagonally so that the grout does not pull out from the seams.
Put extra grout back into the grout container. Give one hour to cure one section of the tile floor. Take a sponge, dip it into the water bucket, and gently wipe the grout lines to remove extra grout.
Move the sponge in a circular motion to get better results.
Step 7. Clean the Grout Haze
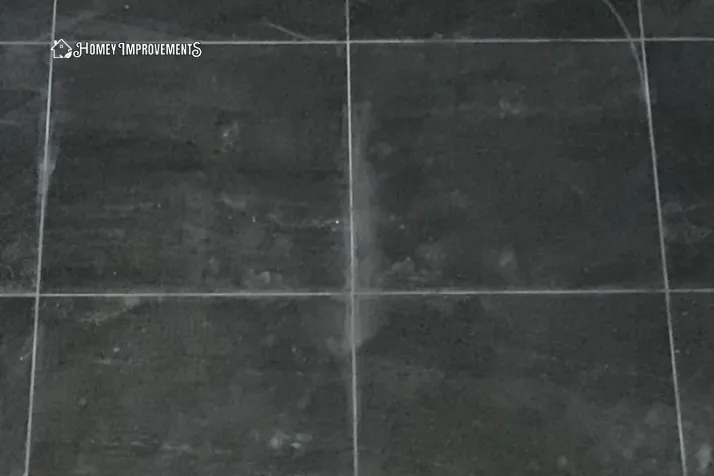
After grouting all the tiles, a white color grout haze remains on the ceramic tile floor. Cleaning the grout haze should be done when the tiles are cured completely.
To remove the grout haze, take a bucket of water. Dip a sponge into it and wring it. Use this sponge to wipe the tiles.
Pour 2 gallons of water into a bucket and pour 6 ounces of haze cleaner. Mix it well. You can read the haze cleaner label and follow the instructions. Dip a sponge into this solution.
Wipe the tiles with this sponge to remove the grout haze. Repeat this process until the haze has been removed.
Step 8. Sealing the Grout
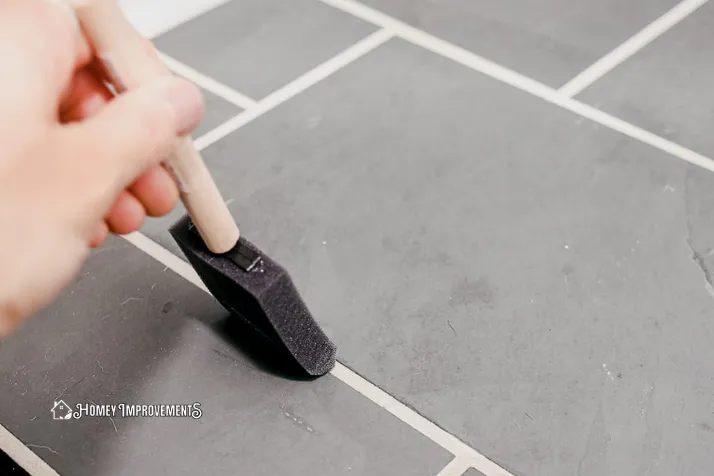
If you do not seal the grout, it will absorb water. There are two approaches to sealing the grout.
- Apply sealer on all the grout lines using a brush.
- Use a spray sealer on all the tiles and wipe down the excess sealer.
Read the manufacturer’s drying and curing recommendations before using the ceramic tile floor. The curing time ranges from 4 hours to 2 days.
Cost of Ceramic Tile Installation
The estimated cost of these tile installations is $75 – $600 for 24 square foot area.
Ceramic tiles come in dissimilar styles, costing from $2 – $20 per square foot. If you are installing it yourself, the price savings can be considerable.
Professional ceramic floor tile installation is expensive. It would be best if you bought the tiles that are best for floor use.
Some ceramic tiles are manufactured for wall use only; they are not made enough durable and thick to use as floor tiles.
To get a waterproof surface, you must use a layer of waterproofing agent over it before installation. This will also increase the installation cost.
FAQs – Frequently Asked Questions
Is Installing Ceramic Tiles an Easy Task?
Installation of ceramic tiles is not easy. You can get successful installation through good preparation, systematic method, and planning. Take more time to gather the right tools and materials.
From Where Should You Start Laying Ceramic Floor Tile?
It would be best to start from the line crossing at the center of the room. Along a ruler, place a row of tiles. Use tile spacers to get consistent joints.
What Will You Do First While Installing Ceramic Tiles?
First, you must mark a layout line in the room to ensure that your tile pattern is at the center. Find the mid-point by measuring all the four walls of the room. From two opposite walls, mark a line with chalk.
What Is the Easy Way to Tile a Floor for Beginners?
Tiling is a time-consuming process. It is not tough but requires a lot of steps in it. It is necessary to install the tiles evenly because if you make a mistake, you will not be able to change it.
Is It Necessary to Install a Moisture Barrier Before Ceramic Tiles?
Installing a moisture barrier under the ceramic tiles is a good idea because it protects the floor from moisture damage.
Final Thoughts
In this article, you have learned how to install ceramic tiles. This is a detailed guide to floor installation—work by paying attention to every step. Always use high-quality materials to get durable results.
You can install ceramic tile floors with a DIY approach if you have the necessary tools. If you can’t buy or rent the required equipment, you must hire a professional to install it.
Leave a Reply