The installation process of vinyl floors is straightforward, But the thing to worry about here is how can you remove vinyl flooring.
You can easily remove the vinyl from the floors with the right set of tools. The removal process might seem a bit hectic initially, but it surely will be worth it as soon as it is completed.
We will get down further with the step-by-step guide to remove the vinyl from floors. But before that, we must know the right tools and materials required to begin this process.
Here’s How to Remove Vinyl Flooring
- Start this process by inspecting the condition of your floor.
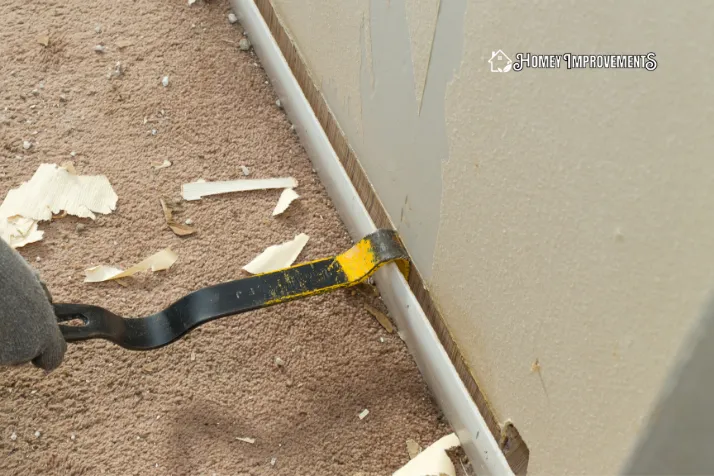
- Now cut the seal of the baseboard from top to bottom with a utility knife. Use the rubber mullet and pry bar to trim and remove the baseboard from the surface.
- The best removal process should start from the middle because these tiles are glued from the edges.
- Use the hammer to misplace the glue holding area of the tile.
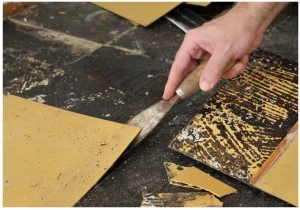
- Use the scraper to lose up the remaining adhesive part of the vinyl tile.
- Make soapy water in a bucket with any dishwashing detergent and apply it to the rough patches of the glued area.
- Use a vacuum cleaner to clean all the messes and dirt particles from the surface. After a thorough clean, install the new flooring on this surface.
Tools Required to Remove Vinyl Floor
- Rubber mallet
- Pencil
- Liquid dishwasher
- Pry bar
- Scraper
- Sponges
- Broom
- Vacuum cleaner
- Stripper adhesive
How to Remove Vinyl Flooring: A Guide for Beginners
Here is an ultimate guide for you to get rid of vinyl from your floors.
Step 1. Figure Out Your Floors
The first step here is to figure out the accuracy and the overall condition of the floor you are going to deal with. To check the overall condition of the floor, its surroundings, and brackets all should be placed in order.
Step 2. Removing the Baseboards from Your Walls
To remove the baseboards from the bottom of your walls, you’ll need a rubber mullet tool. You will also need a pry bar and a utility knife.
So to begin this step, make sure to gently run down the knife from the top of the baseboard towards the bottom. This will cut through the seal that is formed by the caulk and the paint.
After this, it’s time to place the pry bar at the top of the trim to tap it abruptly using the rubber mullet. It will slide the pry bar from the end. Pull the tug of the baseboard to move it away and avoid any damage during this procedure.
Useful Tip:
If you want to reuse the baseboard or trim, make sure to keep it marked on the back. To know the exact point where to start again.
Step 3. Starting from the Middle
In most of the scenarios, the vinyl flooring is glued from the edges and sides of the room. So it’s best to start removing it from the middle of the floor.
For the removal process, you should get a utility knife and draw a line through the center of the floor. Now the cutting line should always be parallel to the first line.
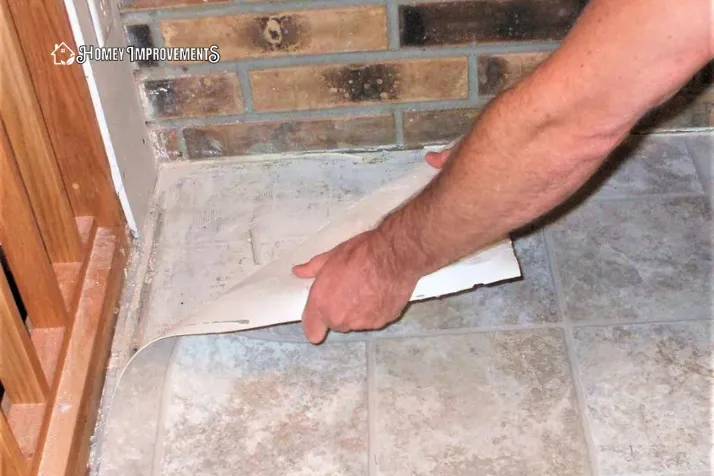
Further, you will need to join both the strips from one end. To be able to lift the cut section of the vinyl. After cutting, you should roll the vinyl as you keep going.
You will need to keep the rolling going until you feel that the vinyl has been completely set off the floor. The next step here is to use the scraper to loosen up the adhesive from the vinyl.
Then cut a second line from the bottom to finally lift it up.
Useful Tip:
If you can’t loosen up the vinyl flooring using the scraper, take your mallet and pry bar to use them and snap off the hardened glue.
Step 4. Removing the Remaining Vinyl from the Edges
As you have gotten rid of the vinyl from the floor, it’s time to tackle the edge. Here you will have to narrow down the vinyl.
Then you will again need the hammer and the pry bar to position the smooth end of the pry bar below the edge of the vinyl. That will cut through the glue holding the vinyl to the floor. This is how you will be able to pull it off.
Step 5. Using the Scrappers
After you feel and sense that all of the vinyl has been set off, you will find that there are still some remains of the glue.
So, here for this step, you will use the scrappers to remove this. And by gently using the scrappers, you will remove the glue from it.
Step 6. Softening Up the Glue
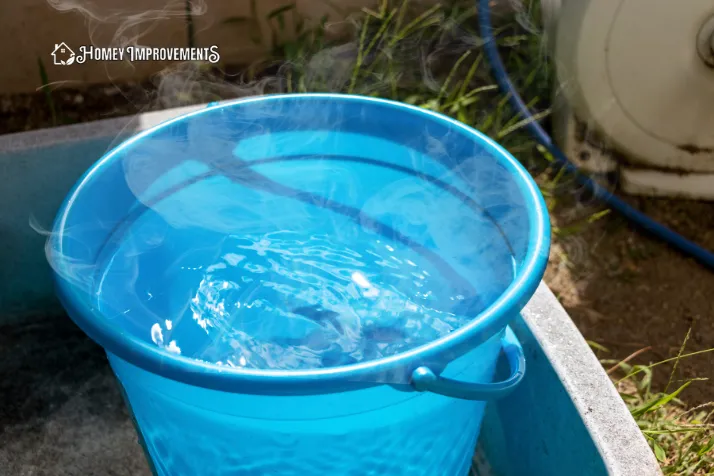
This part is a bit difficult, but to make it a bit easy; you will require filling up a bucket packed with warm water. And add some dishwashing liquid to it, then you will mix it until It forms a foamy liquid.
When the mixture is ready, you will then require to apply the mixture to the rough patches of the glue, allowing them to soak in it properly. Using a sponge must be ideal here.
It is a must to leave it on for a few minutes until the warm water starts working. They take the scraper to slide it beneath the glue patch again. The softened glue will then lift off the floor easily.
But in a few cases, the glue can still stick to the surface. For this, it’s best to use the heat gun to make it soft. Lastly, use your scraper to lift it from the floor.
Useful Tip:
When you’re removing glue from concrete, it will help you if you use the pry bar and mallet combo.
Step 7. Time to Clean Up
Now since all the glue has been successfully removed. The new floor is now ready to be laid off. So, before installing the new floor, it’s essential to clean up the mess and other dirt and dust fragments.
To clean up all of the mess created, it’s best to use a vacuum cleaner. Just plug in the nozzle and get on with vacuuming all the way through the dusty area.
But the other way, you can also use the dustpan to clear your way for the new floor to be added. After cleaning, you can now install your new favorite floor.
If you still have any confusion, here is a video for you on this process to help you out.
Tips to Remove Vinyl from Floors
Some additional tips to remove the vinyl from floors:
- Removing the vinyl from the floor is quite a bit hectic task, so by keeping health in mind, it’s best to invest in some good kneepads for safety.
- Some areas carry the old replacing vinyl floor after being removed. Make sure to look out for them as they can be of great help.
- The floors may also carry some of the transition strips that are either nailed or screwed with them, so it’s better to find and remove them.
- You can use the screwdrivers to remove those transition nails with the pry bar to dismantle them completely.
- During the process of removing trims from floors, buying the trim puller will help you a lot.
FAQs – Frequently Asked Questions
Is the Vinyl Floor Glued Down?
The Vinyl floors are firmly glued down with the surface floors for a better grip on the surface.
Is Vinyl Plank Easy to Remove?
Yes, the vinyl planks are easy to remove by removing the pieces in reverse from their installation process.
How Do You Remove Glued-Down Vinyl Flooring?
To remove the glued-down vinyl flooring, you can use the utility knife to cut through the flooring. Then further use the pry bars to lift up and ultimately dismantle the vinyl flooring.
How Do Professionals Remove Vinyl Flooring?
One of the easiest yet effective ways to remove the vinyl flooring is using a utility knife. You can put the utility knife beneath the surface and lift it to remove it.
How Do You Remove Glued Laminate Flooring?
The warm water solution works best to remove the glued laminate flooring.
Can You Remove and Reuse Vinyl Flooring?
If the vinyl plank flooring is installed above the floor with no glue, it is only possible to remove and reuse the vinyl flooring.
How Long Do Vinyl Floors Last?
The average time for the vinyl floors to last is around 5-15 years.
What Are the Problems with Vinyl Plank Flooring?
One of the common problems with vinyl floorings includes stains, scratches, discoloration, and sometimes even installation-related problems.
Conclusion
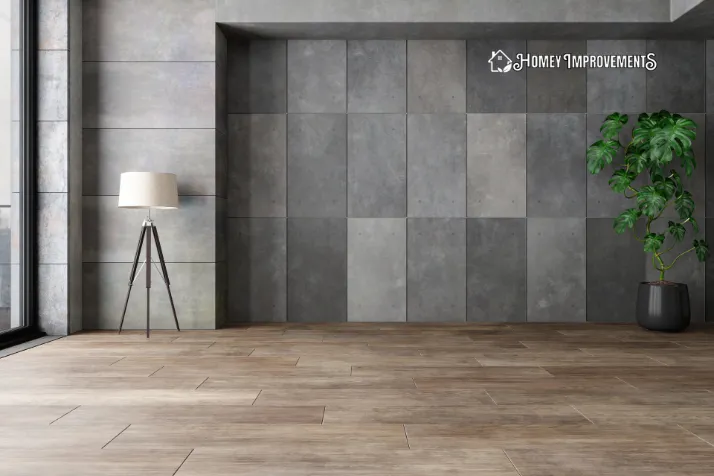
The vinyl plank flooring is an ideal and inexpensive way to increase the beauty, but installing it will require a bit of patience.
So, with the information provided in this article, we hope that you may now be able to remove the vinyl from floors with ease and less effort.
Leave a Reply