Factory-made shower pans are available on the market, but you can make your own according to your needs by customizing their shape and size. You will learn here how to build a shower pan.
Create water-resistant, and custom shower pans for a curved shower attachment. You have to focus on the looks, how it feels underfoot, and its function.
You can construct perfect shower floors with a mortar base, which is water-resistant and looks elegant. Frame the shower walls and subfloor with drain plumbing before starting this project.
Fundamentals of Shower Pans
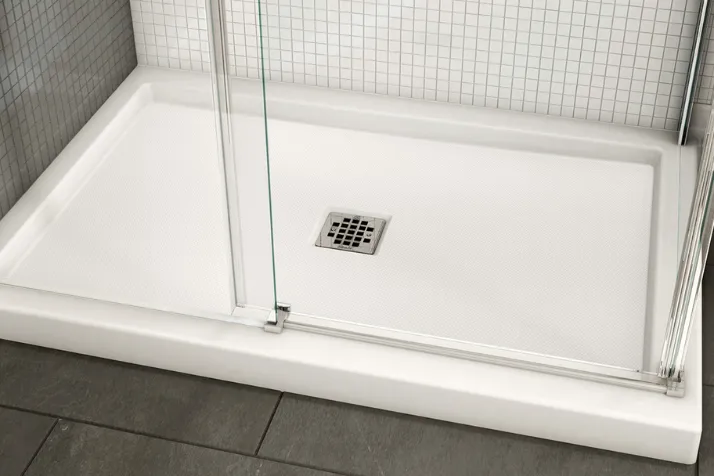
The shower basins are known as pans or floors of a shower. Installing a pre-fabricated polyurethane or fiberglass pan is the most famous technique. The pre-fabricated polyurethane method is the traditional method of creating a shower pan, in which maximum creativity is allowed with tile on a mortar base.
It is a comfortable way for DIYers. Many layers are made to achieve a slope to the drain, and the nearby materials are kept water-resistant.
Pre-slope and Paper of Tar
The pre-slope shower pan is made from a mortar base. More sophistication is achieved by giving this slop another bed of mortar. Put down pre-slop on tar paper.
Water-resistant Shower Pan Liner
There is a waterproof layer on the top of the pre-slope made of PVC or some polymer material. This waterproof liner protects the subfloor from moisture.
Top Slope
There is another mortar layer above the water-resistant layer with the same outlines as the pre-slope.
Tile
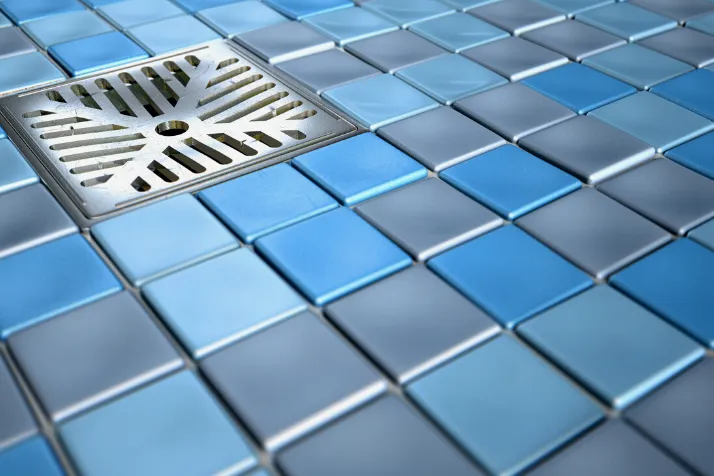
The tile is the top layer of the shower pan floor. A thin bed of mortar is made to set the tile in it, and the seams of the tile are filled with grout later.
Tile Curb Shower
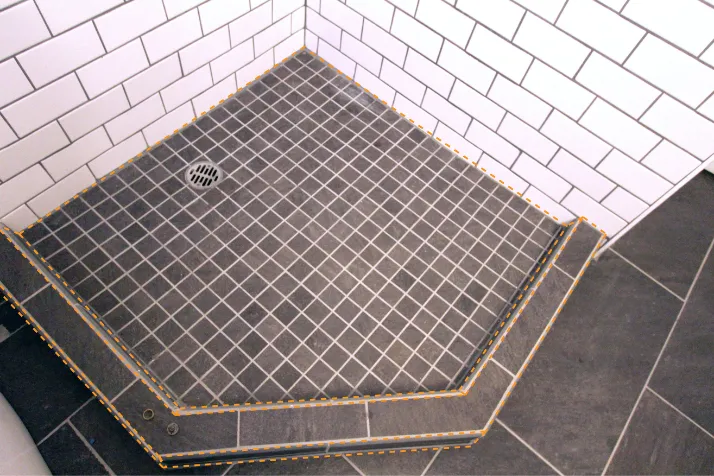
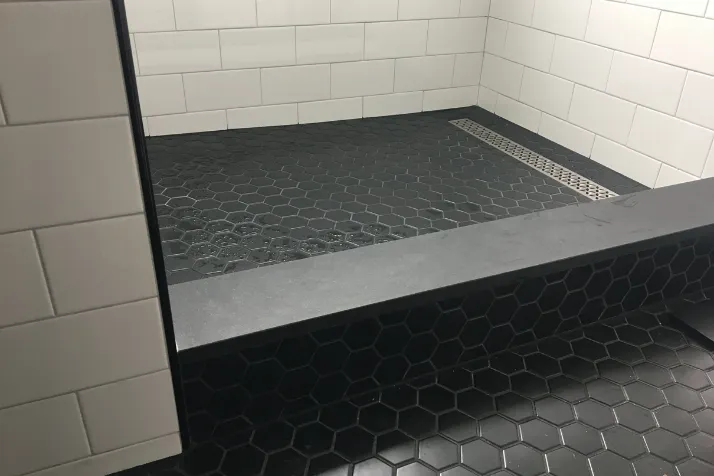
The shower walls bound the shower pan on three sides. The open area where you enter the shower is known as the curb. It is between 2-inches and 3-inches above the shower drain level.
Tools and Materials Required
- Circular saw
- Tile
- Nails
- Mortar
- Tar paper
- Chalk
- Measuring tape
- Hammer
- Knife
- Duct tape
- Mixing tray for mortar
- Water
- Garden hoe
- Flat trowel
- Level
- Shower liner
- Silicone Sealant
- Cloth
- Dry mop
- Tile thinset
- Tile spacers
- Large bucket
How to Install Shower Pan?
Shower Pan Framing
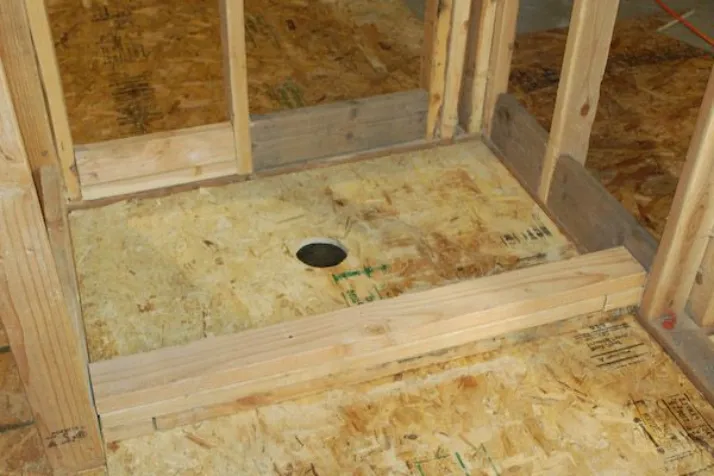
- Use a measuring tape to measure the space between the wall studs where you want to build the shower pan and note it. Cut 2 x 6 inches boards by using a circular saw.
- You can cut the boards at the time of purchase if you do not have a circular saw.
- Measure the length of the sides of the shower pan and leave space for the curb, which is the entry point of the shower pan.
- Lay down the cut board and use a hammer to nail them into the subfloor. Nail two more boards on the surface of the first one. Do not use wooden boards if you have a concrete shower floor.
- For the protection of the subfloor from water, use tar paper. Place tar paper sheet on the shower floor pan and make it flat completely. Nail the floor 8-12 inches apart to keep the tar paper in place.
- In case of using multiple tar paper pieces, they must overlap each other by 2 inches.
- Find the drain extension on the tar paper and cut it by following the edges of the drain. Use a utility knife to cut it. Cut the tar paper as close to the edge as possible because removing too much tar paper will moisten the subfloor.
- Make a floor drain in the area by hiring a plumber if there is no floor drain. Buy a 2-part drain that has upper and lower extensions.
- Close the opening of the drain with duct tape. Place the tape by overlapping it by 1 inch to cover completely. Now you can apply mortar to the shower pan. Instead of tape, a cloth can stop mortar from entering the drain.
Apply Mortar Base
- Take a mortar mixing tray and pour a bag of mortar into it. Sprinkle a little water and mix it with a garden hoe. Make a mixture with 1 part water and four parts mortar to get the right uniformity. Mix the mortar to get the shape of a ball.
- Too runny mortar will not be easy to apply. The size of the shower pan tells how much mortar is required. Two bags are required for a 4 x 4 ft. shower pan.
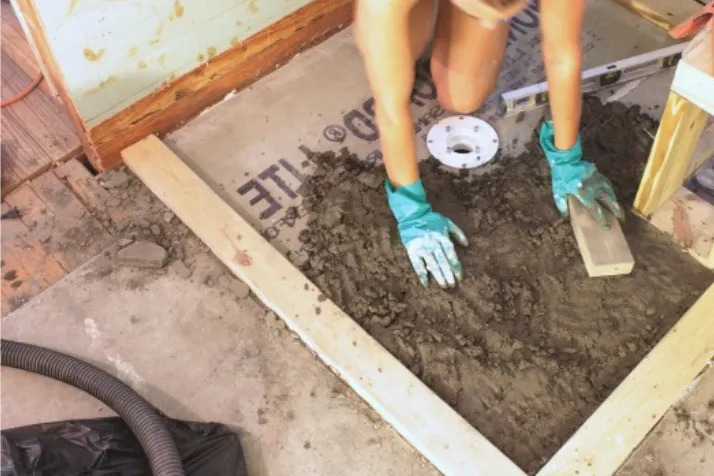
- Apply the mortar to the tar paper and spread it evenly. Shape and push the mortar into the shower border with a flat trowel. Make a 1 1/2 inches thick border, and its length should be three to four inches from the frame.
- Use a trowel to press the mortar and remove air bubbles.
- When you have made the shower border, make the surface flat towards the bottom of the drain. Start this process from the curb and work towards the drain. The slope of the mortar should be ¼ inch per 1 foot.
- The slop of the mortar’s first layer should be correct no matter if the smoothness is not perfect. You can use a level to check the floor does not have bumps.
- After making its surface smooth, let it sit overnight. You can start your work on it after 24 hours. After drying the mortar, peel off the duct tape.
Make Shower Pan Water-Resistant
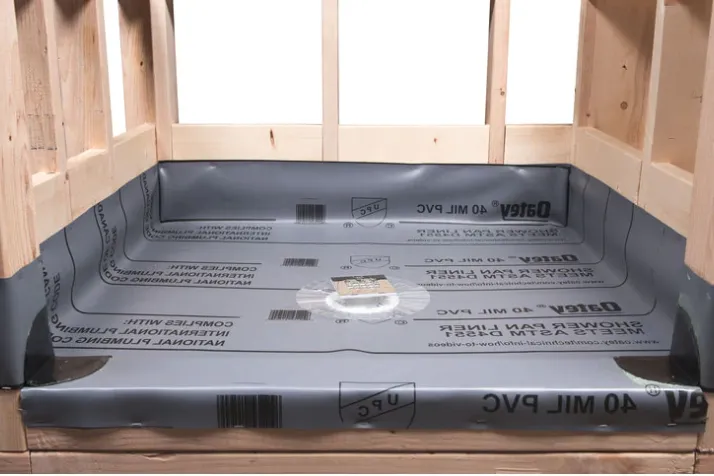
- To protect the subfloor from getting wet, use a shower liner. It is a barrier of protection for the subfloor. Measure the shower pan size. Add extra 8 inches to the measure for the framing on its sides.
- Use a knife to cut the liner according to the shower pan.
- A silicon gun is the best way to apply silicone sealant. Apply it around the edge of the drain, but the silicon bead must be thin. Silicon keeps the liner firm and stops water from damaging the subfloor.
- Place the shower pan liner down on the mortar surface and make it flat as much as possible. Tightly press the liner over the mortar edges and onto the silicone to firmly stick it.
- Nail the edge of the liner placed to the wall studs because there is a high chance of leaking.
- Find the drain above the liner and cut it with a utility knife in an X-shape. In this cut of the liner, fold it into the drain. This will keep the flow of water into the pipes.
- One part of the drain has an upper flange that uses bolts to connect to the bottom. Turn the top flange from left to right into the drain. It must be one to two inches above the bottom flange.
- The bolts on the bottom flange must be tightened to protect it.
- Mix more mortar for another layer above the shower liner. Leave it to dry. Now apply a thick border of one and half-thickness and make it flat towards the drain. Use the same technique to get a smooth surface.
Tile Shower Floor
- Place the tile near the drain and mark it with a pencil. Continue placing them to check how many tiles will be required.
- Select the tile color that looks good with the other equipment in the area.
- Remove the dust and debris from the mortar with a wet cloth to get a clean surface because a dirty surface will not allow the tiles to adhere to the shower pan. Dry it with a mop.
- Tile will not stick to the wet surface of the mortar, so it is necessary to dry it.
- Apply thin-set on the shower pan only to use one or two tiles. You can spread it with a trowel. Its layer should be 1/8 inch on the mortar.
- Firmly press the tiles into the thin-set to stick to the surface. After one or two minutes, wipe it off. If you want a uniform look of tile, use tile spacers.
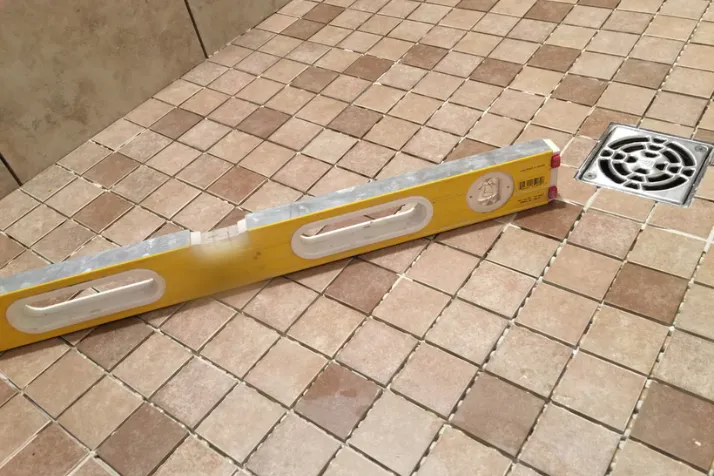
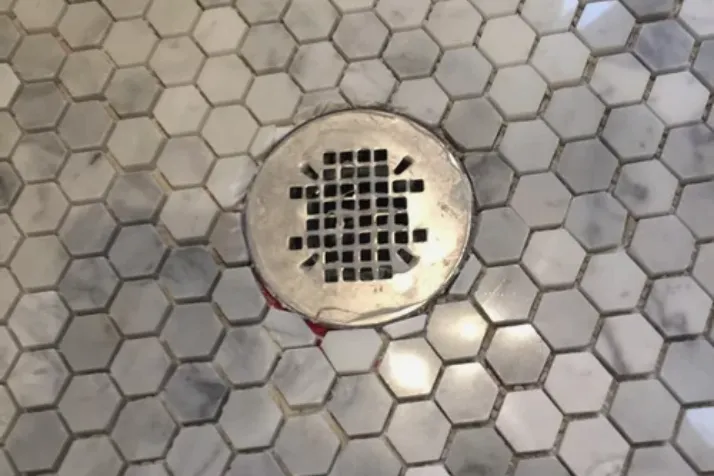
- Take a large bucket and mix grout in it. Put a small amount of grout onto the shower floor tiles and spread it over them using a trowel. Make a smooth surface by pushing it into the empty spaces. Leave it for one hour to dry.
FAQs – Frequently Asked Questions
Is it Possible to Build Your Shower Floor Pan?
You can make your shower floor pan by following easy ways instead of hiring a professional. A DIY route will save you money.
What Materials are Required to Build a Shower Pan?
Different materials are required to build a shower pan, such as mortar, tar paper, shower liner, silicon, thin-set, and grout.
What is the Procedure to Make a Shower Floor Pan?
The first step is the framing of the shower pan. When it is done, apply a mortar base. Put shower liner to make the surface water-resistant. The last step is tiling the floor.
What Thickness is Best for a Shower Pan?
If you want to install tile, the thickness of the base should be 2 – 3 inches.
Final Thoughts
A shower pan is broader and easy to sit on if we compare it with the bathtub. The entrance to the shower is easy. If you install the right shower pan, your entire bathroom will not get water spillage.
Follow the steps given in this guide and learn how to build a shower pan. I hope these steps will be helpful for you.
Leave a Reply