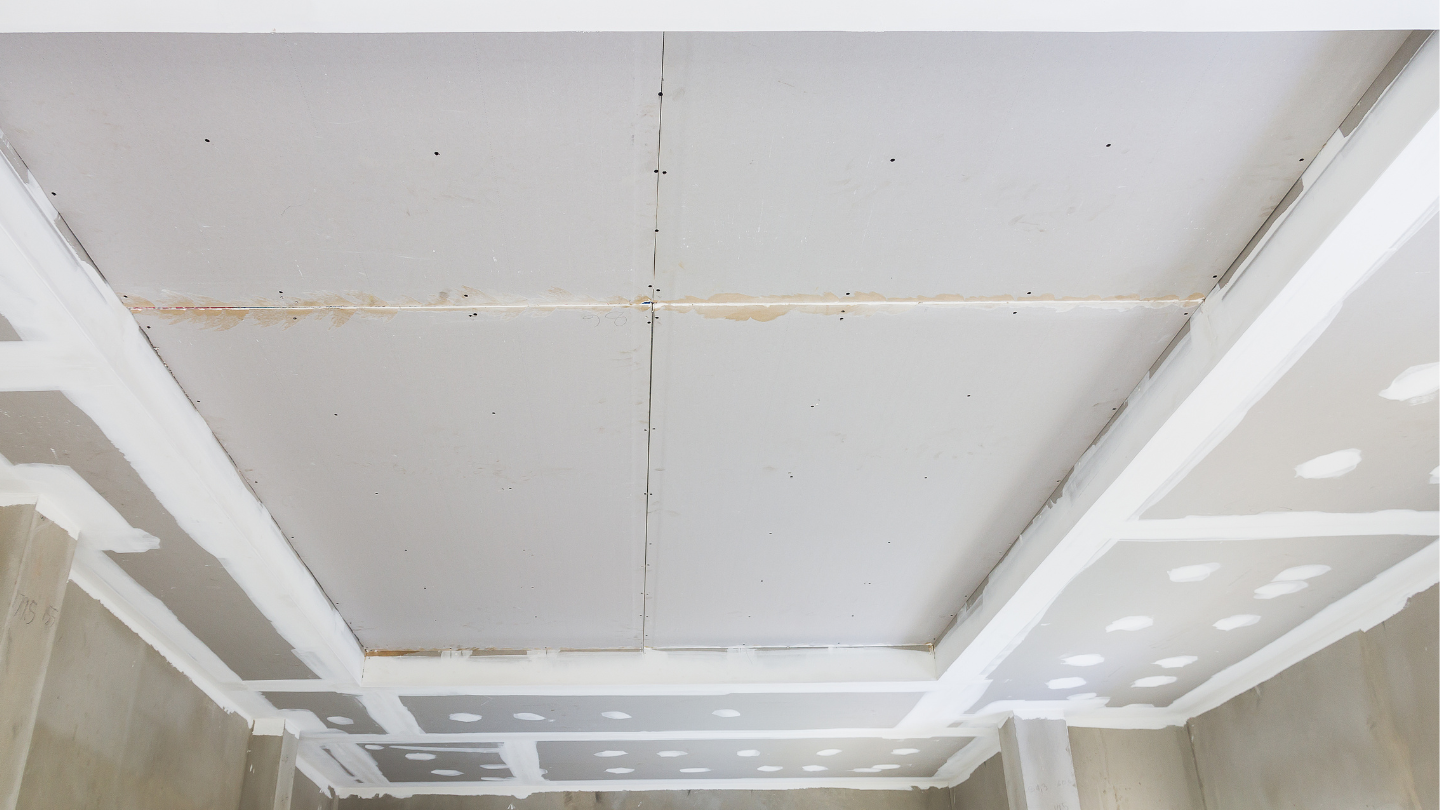
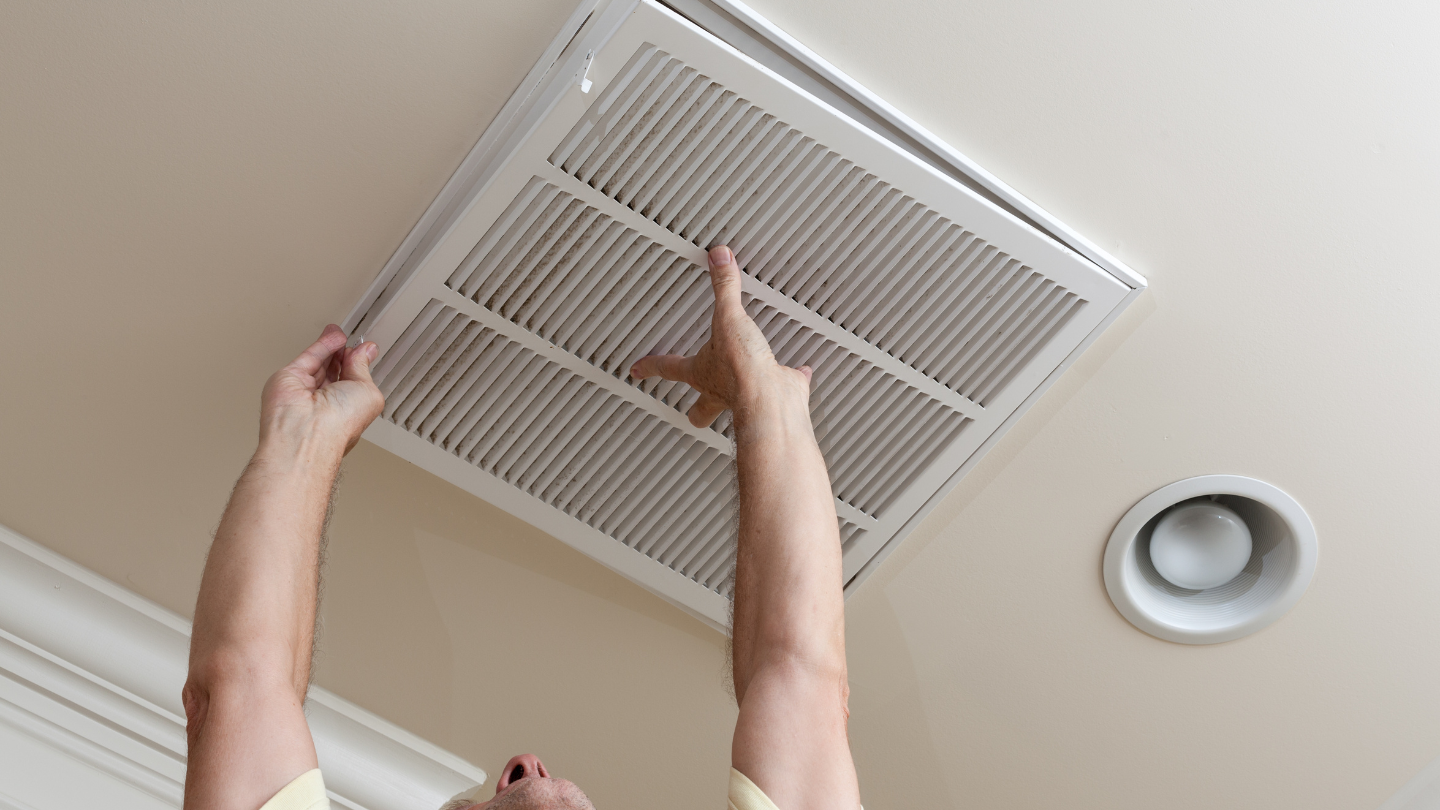
Access Panels come in different varieties with unique uses; one of these great devices is the Ceiling Access Panel. Ceiling Access Panels are great accel panels that you can use on both residential and commercial establishments due to their function, which provides quick and convenient access to the space above the ceiling or acts as a storage along with its aesthetic designs that make an established flourish. But the real question is how you can install ceiling access panel without hiring an expert.
The access that this access panel provides is for you or a professional to perform a hassle-free repair or maintenance to whatever component is above the installed ceiling access panel. These components are either electrical wires, plumbing, or HVAC.
Buying the Ceiling Access Panels is the easiest thing, but installing them is another matter. Installing this kind of access panel is easy to install, but still, you must practice caution or might have a misstep that leads to re-installation or even re-buying the product.
Before we identify the step-by-step guide to install ceiling access panels, here’s a helpful guide on choosing the right accel panel for your construction project:
- Identify The Purpose Of The Access Panel – Determine the purpose before buying one. “Is the access panel for aesthetics, fire protection, security, conceal, wall, and ceiling.” These are just some questions to help you find the access panel you need.
- Find The Best Supplier: Finding the best supplier is essential when buying products. Check for reviews of a specific store to help you find the best supplier for access panels.
- Determine The Material You Need – Many types of materials are available for access doors and access panels, but the three primary materials are namely; plastic, drywall, and steel.
- Size Matters – The size of the access panel is vital as these panels are installable in almost any wall or ceiling. Take note of this to prevent wasting time and money.
Step-by-Step Guide on Installing Ceiling Access Panels
Step #1: Create A Full Plan
The first step in any construction project is to make a full-blown plan that covers almost all of the construction project’s aspects: installing the ceiling access panel. Please write it down on paper or any capable electronic device to look at it when you want to clarify or remind yourself of something regarding the project.
Here’s a list of what you usually write down:
- Work Schedule
- Measurements
- Materials
- Budget
- Emergency Funds
Step #2: Prepare The Tools You Need
When purchasing tools, buy the ones that get the job done. Check for reviews on these tools before buying them. Here are the tools that you need to install ceiling access panels:
- Pencil or Marker – For writing down essential critical inputs.
- Hand Saw – For cutting wood into shapes or sizes you need.
- Screws – For holding two things together.
- Drill – To make holes for the screws.
- Stud Finder – To locate the joists.
- Flash – To illuminate dark areas.
Step #3: Perform an Inspection
While performing an inspection, use your stud finder to locate where the joists are since between these joists is the placement for the hole of your access panel. But before moving forward, it’s best to determine first what is the access panel for; “is it for storage? Access to HVAC? Wiring?” This matter is a crucial step to avoid having problems later, like reinstalling and unplanned spending.
Watch out for wires near the joists or anything in the way of your installation, and use your flashlight just in case there are hidden wires.
Step #4: Creating The Outline
Now that you have determined the use of the access panel and located the joists, now is the time to create the outline for the access panel. You should first make a “test hole” to ensure you are in the correct installation area. But if you are sure of the position, there’s no need for test holes.
You can start by outlining the hole’s location using your pencil or marker and input the right and precise size and measurements. A single misstep on these two can reset the whole installation, so approach with caution.
Step #5: Cutting A Hole For The Panel
There is an easy way to do this, and it’s by sawing directly to the joist. Cut along your drawn line from there until it crosses the other post. Once done, carefully remove the parts of the ceiling you sawed and prepare for the next step. If you think there’s a use for the perfectly sawed part of the ceiling, store it somewhere safe.
Step #6: Creating The Frame
The next step is to measure the framing board, cut it accordingly using your handsaw, and place it between the ceiling joists. If the frame fits perfectly, use your drill now and drill the board into posts on each end to create the access panel’s edge. If you want additional strength for your frame, hammer finishing nails or drill finishing screws to complete the job.
Step #7: Fitting Your Ceiling Access Panel
Now that you have finished working on the frame, you only need to fit your access panel. For easier installation, simply remove the door, allowing you to test your board first. If it doesn’t work correctly, you can adjust the hole.
There are two types of ceiling access panels: “Flushed” and “Surface.” Each of these two has its process of application.
- Flushed Panels – You can install flushed access panels by applying a bead of construction adhesive around the flange. Place the access panel, gently press it against the ceiling, and wait for it to dry. Glue is an alternative if you don’t have any construction adhesive available.
- Surface Panel – When installing surface panels, apply the construction adhesion to the ceiling surface, not around the flange, and wait for it to dry.
Once the adhesive is dry, snap the door, close it, and the last step is in place.
Step #7: Final Touch Ups
After all your work, the last thing you need to do is check for any scratches, divots, and possible sawdust in the ceiling. Congratulations! You have now completed the installation of your ceiling access panel!
Final Thoughts:
Ceiling access panels are beautiful devices that help you and everybody in the establishment by providing quick and safe access to the space above the ceiling. A handy function for all commercial and residential establishments, so install one now and feel the convenience a ceiling access panel can provide.


Leave a Reply