You may not realize that your shower faucet is dripping. It is a costly and annoying thing for homeowners if the professional plumber is not responding to your call in this scenario. The process to fix a leaky shower faucet is not a big deal.
You can manage this fixture on your own without any complicated tools and replace the new shower faucet within minutes. But before moving to the main guide, let me tell you a few causes of shower faucet leaking!
Fixing or Replacing Shower Faucet – A Quick Advice
- Turn off the water supply and find a replacement for the shower faucet
- Remove the old leaky shower faucet
- Install the new faucet. Read the user manual for installation guidelines.
- Turn the water supply on again and check if or not the faucet is working properly.
- Arrange the wall patch and repaint its surroundings to fill the hole in the wall.
What Causes a Leaky Shower Faucet?
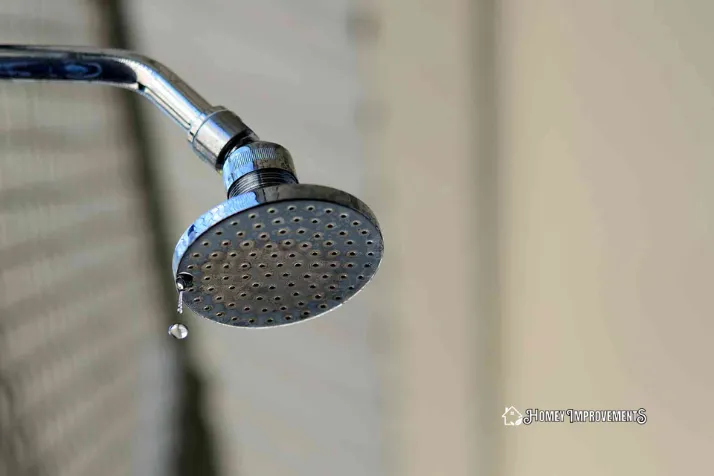
When the water drips from a shower faucet, you have to instantly check its valve. The leaking shower head may be caused by the inner seals which are worn due to excessive water or hard water deposits.
You have to check the connections of moving gears. If you never notice these seals for a long period of time, then there is a certain chance that the inner seal is damaged which is the main reason for the shower head leaking.
Gadgets Required to Repair a Leaky Shower Faucet
- Cartridge
- Pliers or Wrench
- Keyhole Saw
- Pocket Knife
- Gasket
- Screwdriver
- Cartridge Puller
- Handle Puller
How to Fix a Leaky Shower Faucet? – 5 Easy Steps
The process of installing shower faucet parts or shower faucet replacement is a DIY fix and doesn’t require any plumbing service from a professional.
You can’t only blame the leaky shower head or spout; the source of this problem may be originated from a leaky valve.
In most cases, the main reason for shower faucet leaking is due to this valve which is located behind the shower handle. The leaky showers are quite an annoying thing for homeowners.
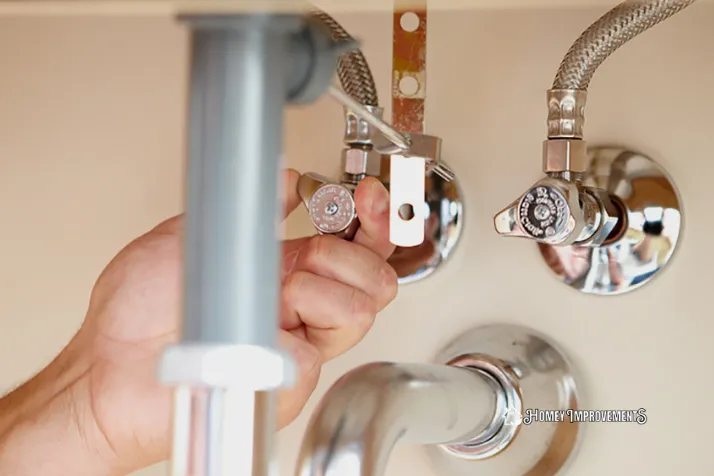
You have to instantly react to this problem and turn off the water supply of your bathroom faucet to stop the shower from leaking. This will saves a fair amount of water.
Further, for fixing the shower faucet, you have to follow certain steps to entirely fix this problem:
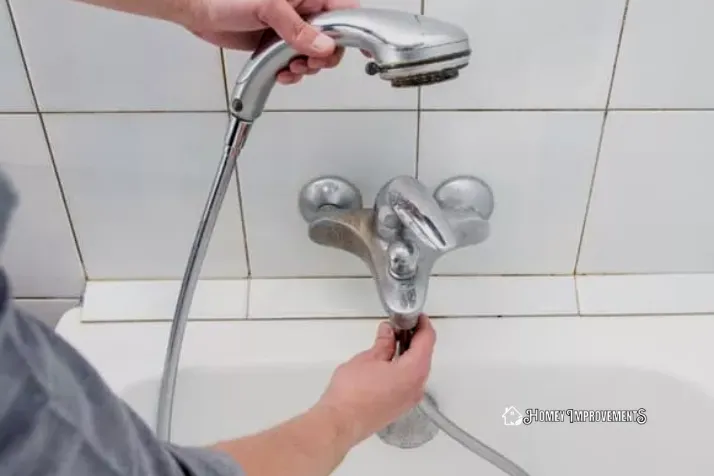
 Step 1. Find a Replacement
Initially, you have to look for a shower faucet replacement. It should be exactly matched with the size and style of your spout. The correct replacement helps you in the process of leaky shower faucet repair and all the connections will be fixed accurately.
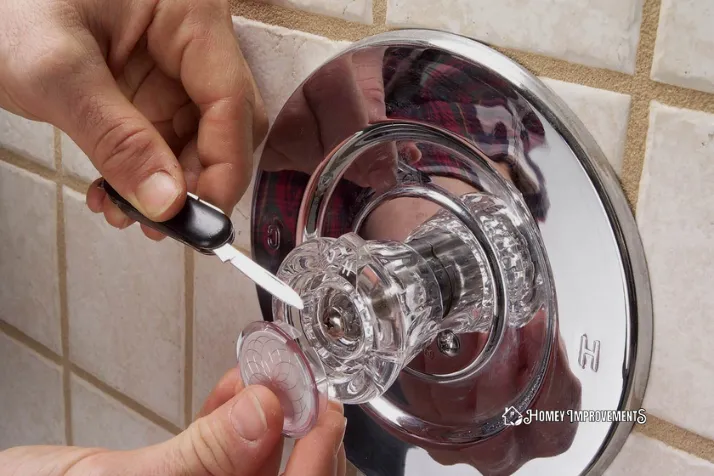
 Step 2. Remove the Old Faucet
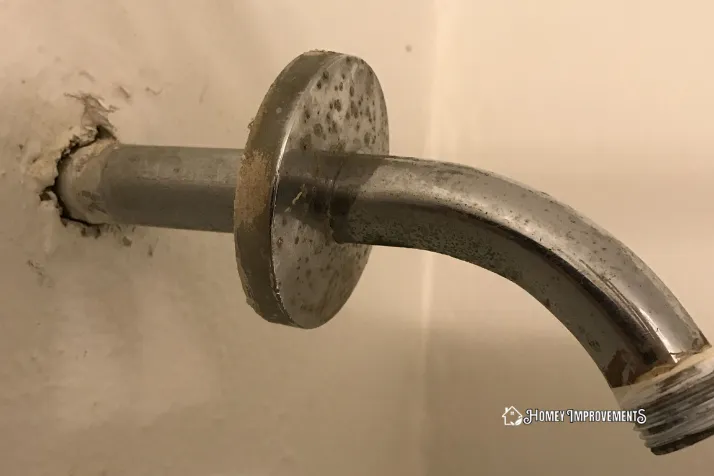
To replace a shower faucet, you have to remove the expired faucet. Use a wrench or pair of pliers to tackle the leaking shower. To access the older faucet, you have to the wall in opposite direction.
Create a rectangular hole with a keyhole saw of about 12 inches. Now unscrew the nuts with a screwdriver from the base of the faucet. It will remove the shower spout from the water pipe.
Never try to hurt this pipe, otherwise, the leakage will start again after installing a new faucet behind the wall. So, be gentle while removing the shower faucet from its pipe.
If you find any metal faceplate on this shower wall then remove it from its thread and place it at any safer place for later use.
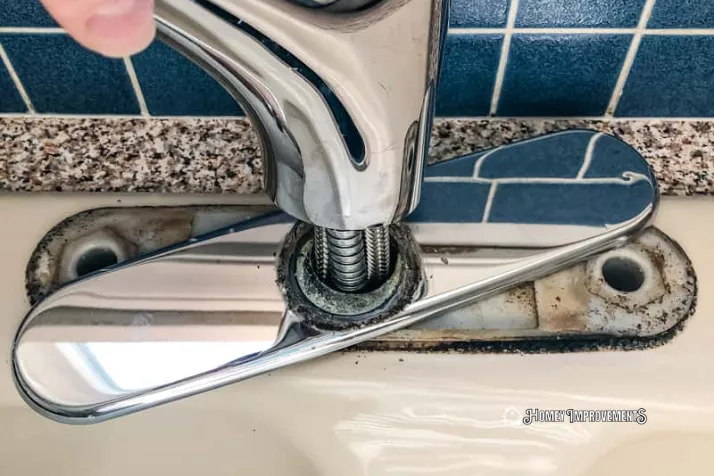
 Step 3. Install New Faucet
Before installing a new faucet, it is highly recommended to read the manufacturer’s instructions of its brand to correctly fix it in a pipe. Now line up this shower pipe with a new faucet. Fix this shower faucet with a pipe wrench and hook up the new faucet.
Make sure that you have fixed this new faucet in its right place and that there is no leakage of water issue left in this fixture. Tighten all the screws and nuts again so that everything is secure in its place.
 Step 4. Turn Water Back on
Now it’s time to turn the water supply on. I can hope that you will not see a leaky shower faucet again. If you still feel any leakage then examine your new faucet. Never try to turn the water off immediately.
There is a certain chance that this leakage is the earlier water stored in the shower pipes. This leakage is short-term and will stop quickly. Now pass through the water by turning on the shower faucet. Everything will surely be fine now.
 Step 5. Patch the Wall
Finally, you will see an ugly hole in the wall right under this shower faucet. Now you have to arrange a wall patch and repaint it from all the surroundings. Leave the scenario for 3 to 4 hours so that everything will be securely fixed.
How to Fix a Shower Head?
To fix a leaky shower head, you have to turn off the water supply again. Now remove the cover cap on the shower head so that you can pull it off from its screws. If you don’t find any screws, then you can pull the shower head out with your hands.
You can inspect the plastic washer or the rubber and try to figure out the exact problem. You can clean this shower head with a large rag or towel. Must check the pipe stem and clean this gear as well.
You have the option to clean the entire area with a water-based vinegar solution. Scrub all the inside and outside surfaces; it will remove all types of obstructions from the shower head.
Now tape the shower head up again and never forget to wrap the thread on the pipe stem to hook the shower head tightly. Fix the shower head with your handle.
Never try to turn it with hard hands. It may crack or damage the pipe or shower head itself. Gently turn the shower head and fix it till the end.
Finally, turn the water supply again and check for any dripping shower head issues again. I think you have fixed the shower head perfectly. Great Job!
More Useful Tips
If you think that you become a pro expert in fixing this problem, then add the following useful tips in your skill:
- It is highly recommended to do this DIY task with gentle hands. If you over-tighten the faucet or do this task with harder hands, it will damage the valve or shower faucet again.
- Put all the nuts and screws in a safer place. never drop these smaller items down the drain.
- Before going to open the shower handle and valve, make 100% sure that the water supply is turned off.
- Accurately measure the size of your expired faucet and bring a newer one with exact measurements.
- If grease is required for any seal, then must lubricant it.
- Always replace the faceplate, shower handle, and metal stem with a new faucet.
- All the necessary gadgets for this task should be placed near you.
- If you found any rubber washer in the shower faucet and must re-install it in its right place.
- Tightly screw all the nuts before turning the water supply on again.
FAQs – Frequently Asked Questions
How Do You Stop a Dripping Shower Faucet?
If you found water drips from the shower faucet then you have to investigate its inner seal. There might be some parts worn and causing this leakage. The shower leakage water can be fixed by replacing this older faucet with the newer one.
Why is My Shower Faucet Dripping?
The dripping shower head problem can be caused due to certain reasons. You have to fix a leaky shower faucet in the right way to stop these drips of water.
Why Does My Shower Faucet Drip After I Turn it Off?
Some extra water is stored in the shower head and the pipe. You will find the shower leakage issue even after you turn off the water supply but don’t worry this leakage of water is temporary.
How Do You Fix a Shower Faucet that Won’t Shut Off?
If you find your shower faucet won’t turn off then you have to stop the water supply and tighten its handle at an initial stage. It will stop the extra flow of water and you can easily fix a leaky shower faucet without any hurdle.
How Do You Change a Shower Cartridge?
The shower cartridge can be installed with the help of a single-handle faucet. Just turn off the water valve and start removing the shower handle from its screws. Remove the metal sleeve and faceplate.
Now eliminate the cartridge with the help of a wrench and pull it out from its fixture. Now install a new cartridge and turn it in a clockwise direction with the help of a wrench to accurately fix it at its right place.
Final Thoughts
Here and now, the process of shower faucet repair will become easier for you. If you don’t know the measurements of your expired faucet then just take this faucet to the store and bring a newer one absolutely similar to it.
After installing the new faucet, must examine it again for some time and make sure that you will not see any leakage from the shower faucet.
If you can’t access the shower head or its water pipe, then cut the wall and create a fairly larger hole near this shower faucet.
It will ease up your access to these gears but never try to leave the scenario; always make a wall patch to bring every back to its original position.
 Step 1. Find a Replacement
 Step 2. Remove the Old Faucet
 Step 3. Install New Faucet
 Step 4. Turn Water Back on
Leave a Reply