Do you want an easy guide on how to remove the tile floor? If yes, this article will fully help you remove the tiles in the best possible way.
If you are planning to renovate your house or you have just moved to another house and your first task is to replace the tiles then you have to remove the old ones first.
It is a DIY project and can be done smoothly at home with some knowledge.
The tile removal process can be time-consuming but I will try to keep it as simple as it could so that you can perform the task easily at home.
Are you ready? Let’s get started.
Can I Remove Tile Myself?
Before moving toward the main point, let me clear this doubt that many people ask. Yes, you can definitely remove the tiles and it can be done as a DIY project but with some additional effort.
Besides this, it is time-consuming work so if you are willing to spend some time on this project, go ahead and save money.
Above all, if you have all the tools and equipment at home, it won’t be difficult for you to proceed with it. You have to be extra careful while removing the tiles without providing any harm to the subfloor.
Keeping all these points in mind, you can begin working.
Cost to Remove a Tile Floor
We can not predict the exact amount of tile removal because it depends on numerous factors. It depends on the size of the room because the larger the room, the more tile will be utilized.
Moreover, it also depends on whether you want to hire a professional or you will do it as a DIY project.
The professional cost will be approximately $3,000. usually, the per square foot average price of a professional is $2 and $5. Hence, the bigger the room, the more price the professional will demand.
You can save a lot of money if you do not hire him. The project of tile removal is quite simple yet time taking and diligent.
Tile Floor Removal Process
Whatever the reason behind removing the tiles, the below-mentioned steps will help you perform this task with ease.
Let’s put a light on these points for better understanding.
 Step 1. Evaluate the Work
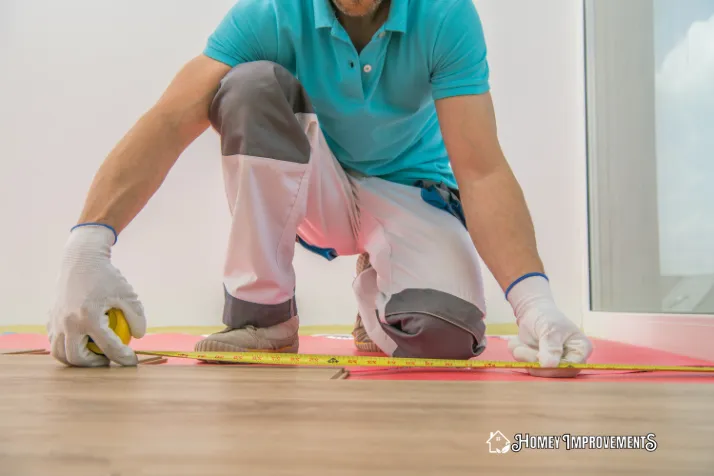
The first and the important point is to fully evaluate what you are going to do before starting the work. Whether you want to remove the kitchen floor tiles or you are planning to replace the tiles of bathroom floors?
The kitchen floor tiles will take more time to be removed as compared to washroom tiles. Moreover, for kitchen floor tiles, you won’t be able to cook for the next few days so keep this point in mind.\
How long this process will take depends on the size of the room. On the other hand, it also depends on the type of tile you are going to remove. Removing tile from the concrete floor takes much time and effort.
Ceramic and porcelain tiles are relatively easy and safe to be removed. Once you have assessed all these points, begin the project.
 Step 2. Tools to Remove Tile
It is important to get access to the floor tile removal tool before starting work in order to save time. You should have all the tools necessary for this purpose.
Let’s point out those tools or accessories necessary in this regard:
- Pry bar
- Hammer
- Screwdriver
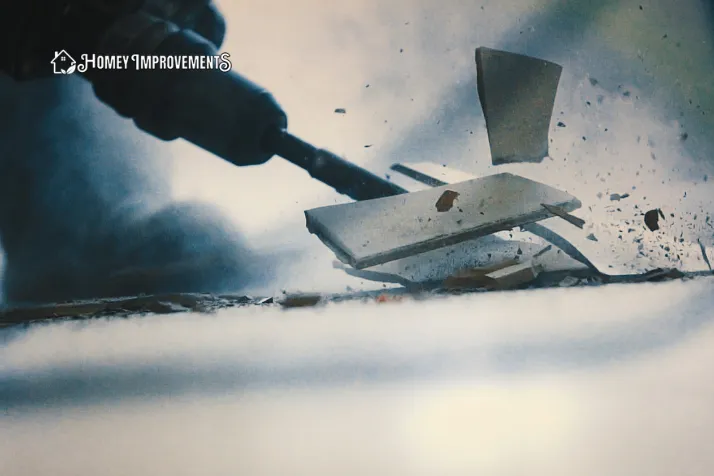
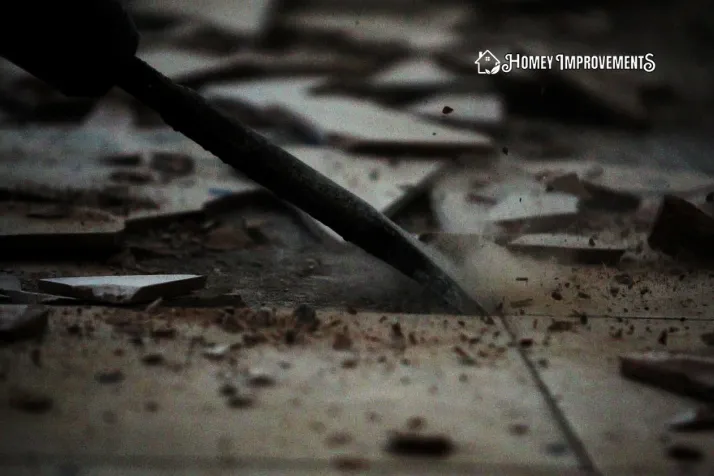
- Chisel or air hammer
- Scraper
- Tarps and plastic wrap
- Angle grinder
- Trash can
- Cloths or blankets
- Shop vacuum
- Long-handled floor scraper
- Painter’s tape
- Shovel
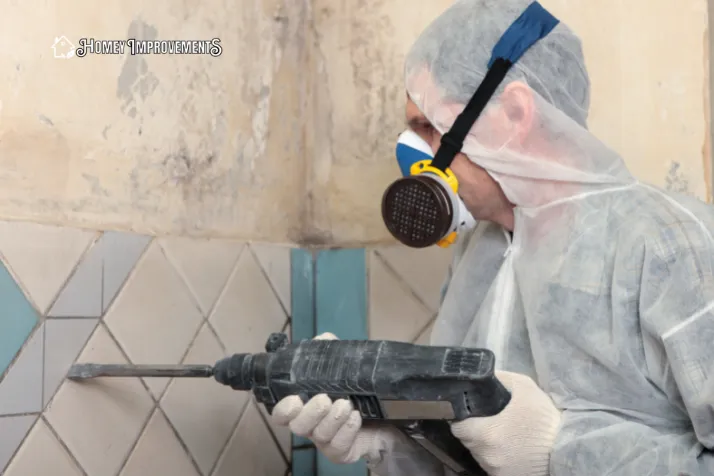
These are the right tool you should get your hands on before starting the project. However, you should also follow some safety precautions so that you won’t hurt during the process.
The safety precautions include:
- Safety glasses or goggles
- Ear protection
- Knee pads
- Safety mask
- Gloves
These items will protect you from any mishap or accident. Do not forget to wear them during the work.
 Step 3. Complete All Small Tasks
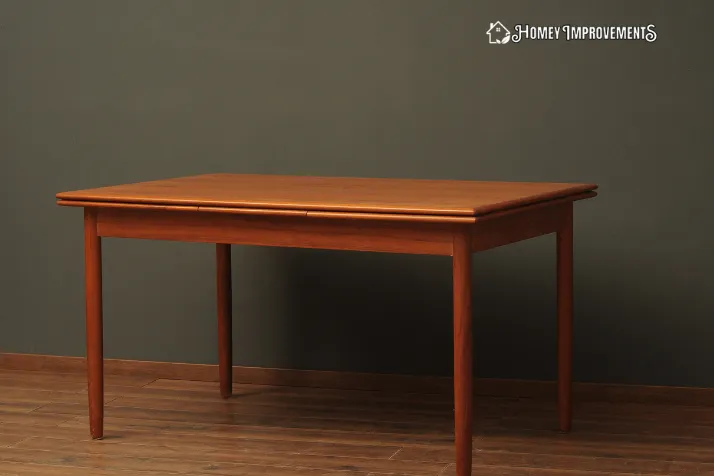
Before starting the work, you should first get yourself free from all small tasks including removing all the objects that might be the huddle in the work i.e., table, towel holder, etc.
It is better to remove every possible item so that you can perform the work easily without any hurdles.
The things that you can’t remove are better to cover with a cloth. Once everything is clear, you can begin by removing the baseboard with the help of a screwdriver.
Baseboards are laid down once the tile is installed so take extra care while removing them without providing harm to the tile.
If any issue occurs to the tile, you might have to replace them that cost additional. Once it is sone, now seal the vents.
This process creates a lot of mess especially if the tile is hard and the debris can enter the HVAC system. Hence, to avoid this mess, it is better to cover the vent with a plastic cover before starting sealing them.
 Step 4. Begin Tile Removal Process
In order to remove the tiles, you should first make a starting point from where you can begin the process.
A great idea is to start from a place where the old tile may be damaged or cracked. If you start removing the tile from that point, it will be easy for you to complete the work.
Tough the process is easy because usually, this spot is hard to find so you have to create your own spot in order to begin the process.
Another great spot you can find is in the room corner from where the tile doesn’t continue to another room.
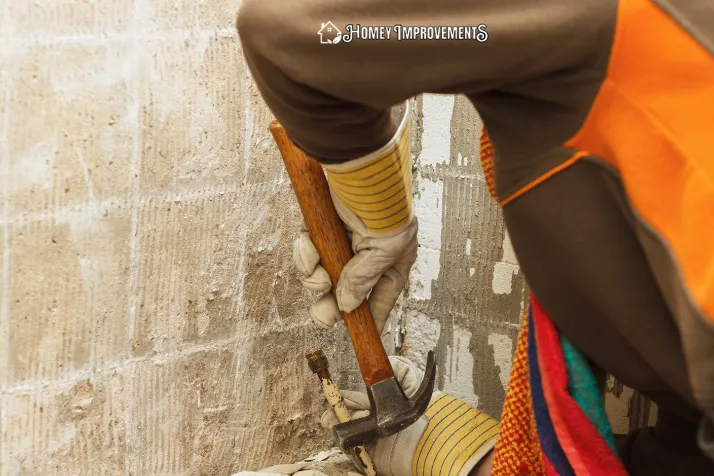
It is a perfect edge to start from. You can also create your own spot with the help of a hammer and chisel. Once you found the perfect spot, start working.
Moreover, do not forget to examine what is under the tile or what type of underlayment is attached because these things will also determine how much you should be careful in the process of tile removal.
 Step 5. Remove the Tiles
Now that you have found the center point and have also examined what is under the tile, now keep your entire focus on removing the tile.
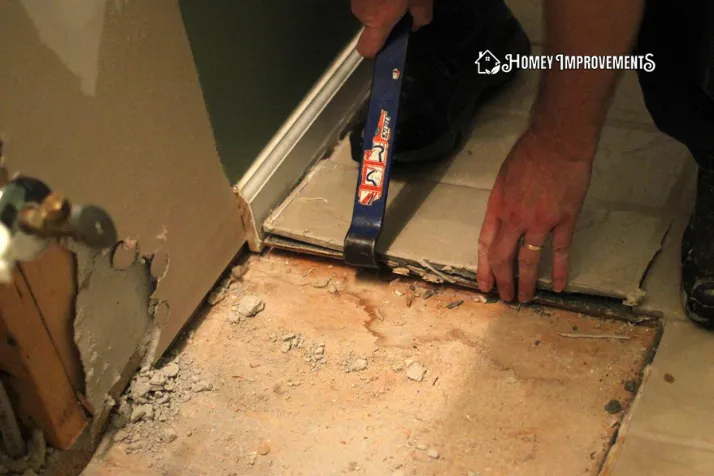
Use a ply bar under the tile and pull it upwards, the pieces of tiles will start coming. It is how you can remove maximum pieces of tiles by using this tool.
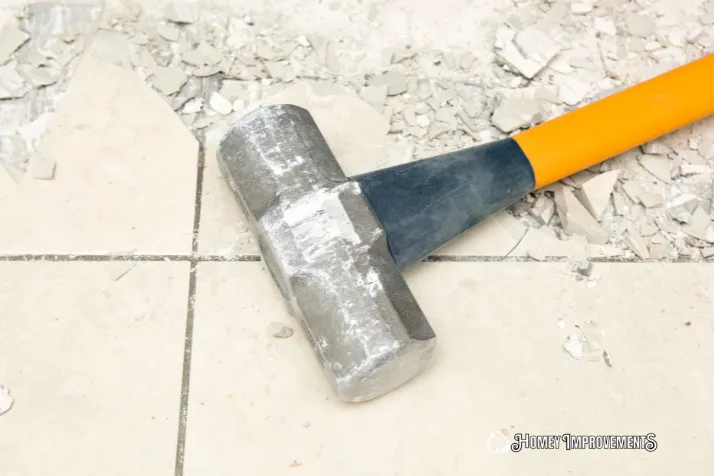
Usually, this process is done in pieces but sometimes, the entire tile in a single piece can also come. In order to break the tile, you can also use a hammer it chisel that will help you break the tile into small pieces.
Once you have collected enough tile pieces, now with the help of an air hammer or long-handled floor scraper, you can eliminate the tile bulk.
These tools will help you perform this task easily without applying a lot of effort. Once you have reached cabinets or walls, replace the tools with a chisel or ply bar.
Gather all the tile pieces and put them in a dustbin and do not forget to clean the entire area.
Keep emptying the Dust can even if it is filled with a few pieces because these tiles are heavy and once the Dust can is full of tiles, you won’t be able to move the dustbin.
 Step 6. Prepare the Underlayment
Now the tiles are removed, start preparing the underlayment. Before working on underlayment, ensure to clean the surface with a shop vacuum or a broom to make the surface mess-free.
Now, with the help of a chisel and hammer, start removing the mortar as much as you can. Once the work is done, again clear the surface so that not a single dust particle is left.
If the surface is messy or untidy, you will have a tough time joining the underlayment. You can use the old underlayment as well if it is not damaged or cracked.
However, it also depends on the type of underlayment you were using. If you have plywood underlayment, do not reuse it because they absorb moisture.
Dispose of Old Tiles
If your old tiles are in a good condition then you might be curious that what should be done with them. If you want someone to handle this mess then he will definitely charge.
However, you can ask the local recycling center whether they are willing to recycle these tiles or not. On the other hand, you can ask someone in need of a tile.
You can also donate these tiles for a donation project as they are always in need of these tiles. It is how you can utilize your old tiles for a meaningful purpose instead of wasting them.
FAQs – Frequently Asked Questions
Let’s have a look at some frequently asked questions regarding tile floor replacement to make things clear for you.
Can I Remove the Tile Flooring Myself?
Yes, it is a DIY project and you can perform this work at home with the right tools and accessories. If you have the right kind of tools, it will be easy for you to perform this task.
The above-mentioned points will also help you in this regard. However, do not forget to wear safety precautions to avoid any accident.
What Is the Fastest Way to Remove Tiles?
There is no fast way in this process, It takes time and you have to put some effort if you are doing a DIY project. However, the above-mentioned points will help you complete the task in the easiest way possible.
How Hard Is It to Remove the Tile Floor?
It depends on the type of floor and tile you want to remove. Moreover, it depends on the room size as well. If the room is small, it will take less time to remove the tile but if the room is large, you have to put extra effort and additional time.
How Much Does It Cost to Remove a Tile Floor?
The average per square foot cost would be $1.50 to $4.15. Moreover, it depends on the room size and type of the tile as well. For example, this mentioned price is for ceramic tile.
If you want to go for any other tile it will cost different. Moreover, if it is not a DIY project, you have to give additional costs to the professional as well.
How Do You Remove Tile from A Bathroom?
Before starting removing washroom tile, you have to remove all the objects so that it doesn’t become a hurdle in the tile removal process.
Some objects that can’t be removed should be covered with a cloth. Now with the right tool, you can begin the removal starting from the baseboard.
For small objects, a chisel or hammer would be perfect. For large objects, get the right kind of tool and complete the task.
Final Words
If you are a beginner and want to know how to remove tile floor then this article will help you step by step in order to complete the task.
For whatever purpose you want to get rid of the old tiles, this guide will fully assist you in every manner. Ensure to get your hands on the right kind of tools to make things easy for you.
You can save a lot if you perform it as a DIY project. Moreover, you will get some additional knowledge and will be able to recover small issues on your own instead of asking for a plumber now and then.
Whether you want to remove tile from the concrete floor or you want to know the cost to remove a tile floor, you will get all the answers in this detailed guide.
I hope this article will help you enough to complete this task with ease in the future. Take notes and follow the steps for better comprehension.

 Step 2. Tools to Remove Tile
 Step 5. Remove the Tiles
 Step 6. Prepare the Underlayment
Leave a Reply