Are you looking to level the floor with a self-leveling concrete compound? You can get a smooth flooring surface with this technique just by following the key points of this short guide.
It is quite tricky to keep the concrete stuff moving with a floor leveler and if you don’t mix the materials accurately, it will become tougher to carry out this task accurately.
Our specialists with teach you the entire process of self-leveling to the best of their proficiency.
Different Types of Self-Leveling Concrete
Self-leveling concrete can be divided into two major categories. It is necessary to understand these types of self-leveling concrete to the best of your knowledge: Let’s discuss them:
Acrylic Self-Leveling Compound
The first one is an acrylic self leveling compound. This acrylic self-leveling mixture is made by mixing the cement powder together with the liquid acrylic polymer.
As a result, it will leave the floor with a scratch and stain-resistant finish. It may require a little extra time to dry than the other types of self-leveling compounds.
Water-Based Self-Leveling Compound
The water-based mixture of self-leveling concrete uses water as its lubricant. As a result, it leaves a more consistent surface in line with the usual concrete.
This type of self-leveling compound can get dried within minutes, around 20-30 minutes max. You can get this in powder form and then mix it in water to create a solid, dense liquid to cover up missing areas.
Tools Required
To further get into this process, you require some important tools; here’s a list of them:
- Vacuum
- Broom
- Mop
- Gauge rack
- Cleats
- Silicone caulk
- Mixing drill
- Mixing head
- Leveling primer
- Mixing bucket approx. 6 gallon
Guidelines to Use Self Leveling Concrete
Here are the steps to know how to use self-leveling concrete for your homes. You can apply these steps in the given sequence to make it a perfect DIY project for your homes:
 Preparation
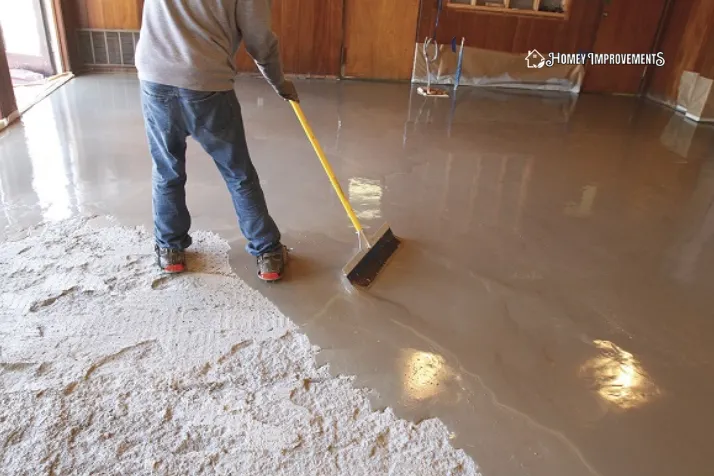
This step is an important one before directly getting into the process. Preparing includes taking all the right tools, a bucket of water, and a concrete mixture and getting the floor ready.
So in case, you have any other flooring type like vinyl or laminate floors, it’s better to remove it to get down to the level of concrete so that you can start leveling it.
After removing any subfloor, now it’s time to clean the floors.
 Cleaning
This part should never be ignored before pouring the self-leveling compound onto the floor because without cleaning and removing Some impurities might get into the mixture and ruin the overall texture.
You should remove the furniture and clear all the area. After this, get your vacuum to remove the dust and broom it away to clear it up.
Ensure a clear and clean view of the surface as any left dirt and dust can reoccur after applying the self-leveling concrete to your homes.
 Mixing and Pouring
Make sure to check the product if it contains any primer. Usually, these do include the primer, but some products lack it.
If your floor has deeper cracks or damages, you will need to repair them before moving any further. During this time, you will need to move fast before mixing concrete sets to take place and start.
Don’t forget to note that the patches and scratches are dry before applying the primer or the moisture barrier to be ready for the concrete. For the mixing, you will need a large bucket.
Then it is crucial to get a drill with an extension wire also the cement paddle.
Now, use the trowel to spread the mixture to those areas you feel aren’t correctly covered, and make sure that the surface is even before letting it dry.
Read the instructions manual carefully so that you don’t add water to the compound mixture, but the proper way is to add the compound mixture to the water.
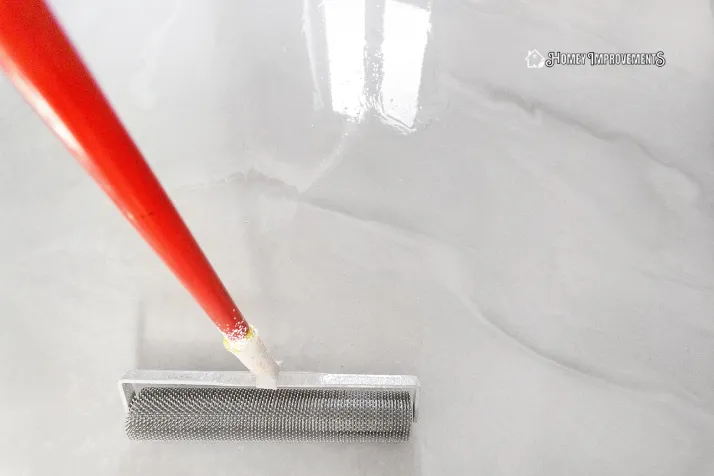
Further, you will use the drill to mix the compound until it feels like a paint texture.
Important Note
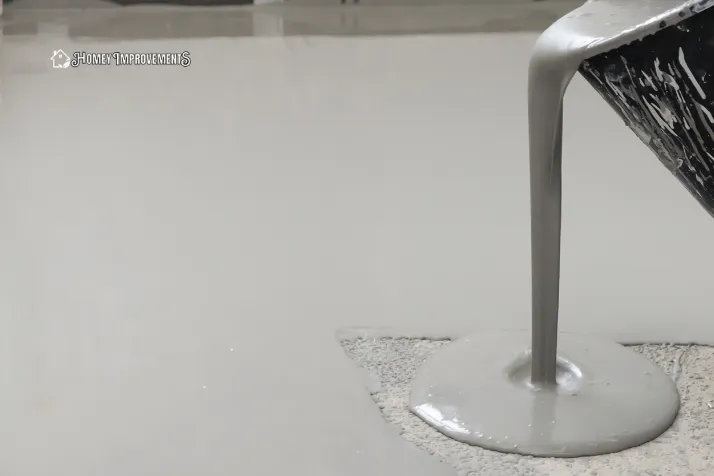
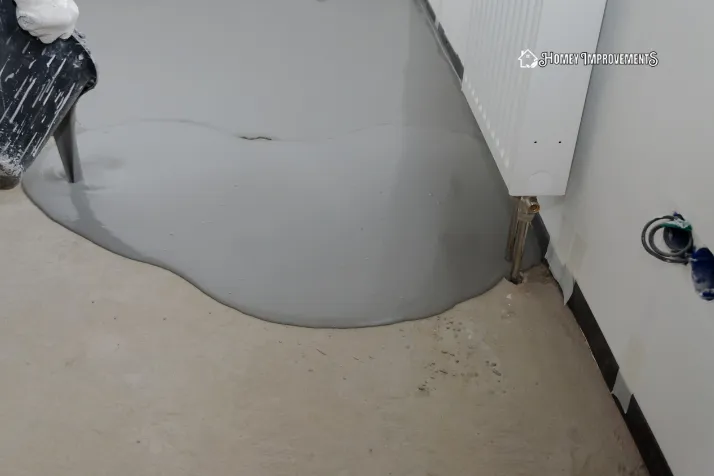
Make sure to start pouring from the end of the room’s corner and use the drill to make the mixture until you start to pour. You may have at least 10 minutes until the mixture hardens.
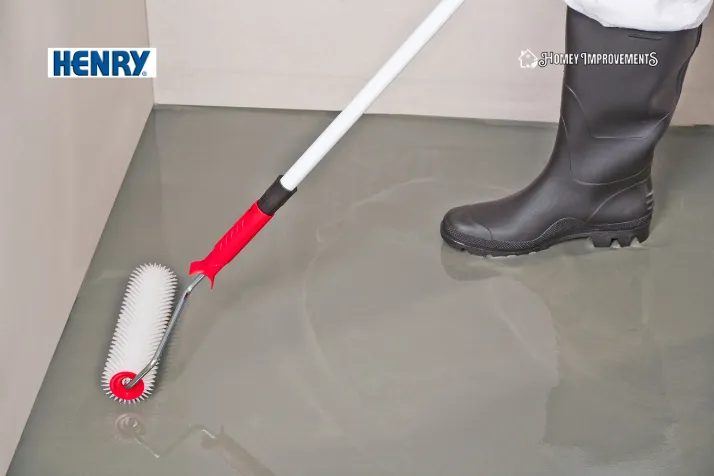
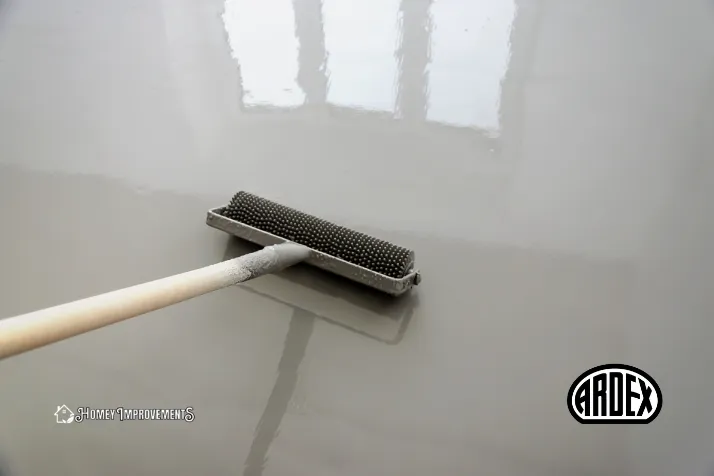
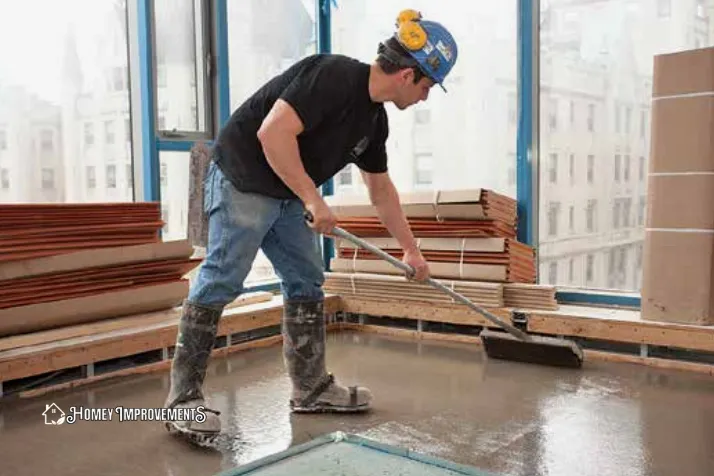
Use the trowels to pour the mixture into the floor and make an evenly balanced layer. Then it’s best to wait and let it dry to get hard.
 Setting and Cure
The time till the mixture or the self-leveling concrete mixture ultimately may vary from brand to brand.
But in general, the time to wait is almost around 1.5 – 2 hours before the mixture compound completely dries out, leaving a perfectly balanced floor.
This time is really crucial for you so that you make sure you prevent the floor from any touching of pets or any kids around the area or even footmarks.
Once this setup is completed, don’t just try to walk over the floor; wait for the suggested cure time until you feel that the surface is completely smooth and dry.
If you are satisfied with the floor, you may proceed with further installing the planks or vinyl, but the cure time for them is usually around 15-20 hours, and in the case of wooden flooring, you require at least 72 hours cure time.
Top 5 Best Self Leveling Concrete Brands
1. Akona Self Leveling Floor Underlayment
Akona brand is famous for a self-leveling underlayment that best suits interior applications. One of the most distinctive features of the Akona brand is a purely water-based solution product.
The primer is already mixed with this solution which saves your time applying the mixer. It is a great thing to save time and money.
This self-leveling concrete sets in almost 5-8 minutes to ensure your trowel and pour window gets low.
Whereas once it is poured all over, it can cure almost all types of flooring in 24 hours. It would be best to wait for at least 72 hours for the hard floors.
This product also comes around in a 50-pounder bag which costs around 30-40$. It might not be as cheap as other brands, but with the inclusion of the primer, it indeed is a great option to look for.
Best Used For
It is best used for interior underlayment floors with the radiance of heat.
2. Henry 565 FloorPro
This self-leveling concrete floor pro is an innovative floor that allows thicker pours and can also be tapered in any shape to meet the required needs.
Unlike most brands, the henry 565 has a thick and dense layer, making it perfect for raising and increasing your floor in a balanced and uniform manner.
To further apply this floor, you will need to use a liquid polymer before mixing the pour, which is not included in the purchase.
However, once it is poured, you can initially test it within 10 minutes while completely walking on these floors within a rough time of 3-4 hours.
Furthermore, installing ceramic tiles on this requires as little as 5-6 hours, and for all the other types of floors, around 16-18 hours.
This thick and dense pour will help you achieve your desired result easily. For the 50-pounder bag of henry 565, you need about 35-40$.
The ultra-thick and dense layer will not let you regret the price you pay for this brand.
Best Used For
It is best used for 5 inches thick and dense layers.
3. Level Quick Rs Self-Leveling Underlayment
Level quick is one of the top DIY custom building acrylic-based self-leveling underlayment concrete.
This brand does not include any primer, whereas you will have to buy the primer for this separately. It usually is available in 1-gallon bottles for easy and quick application.
The RS written on it means rapid setting formula. So this means that when it is applied completely on the floor, you can set it within 10 minutes.
While walking on the floor, you will require at least 24 hours. The biggest flex of this brand is its layering ability.
Each 50-pounder bag of henry can pour up to 1.5-2 inches thick, and the layers with the second pour can be applied within only 4-5 hours.
This is one of the best choices for modern constructed homes with wider beams. As well as level quick can pour evenly into the joists for at least up to 23 inches apart.
This 50-pounder bag will cost you around 35$. But mostly the price will be depending on your area.
The quicker time setting and extra-durable finishing will be definitely worth the price you pay to get these concrete floor products.
Best Used For
It is best for quickly setting the floor and finishing the floors like no other product.
4. Ardex K10 Reactivatable
Like maipei and other brands that deal with self-leveling concrete products, ardex also offers a wide variety of options. But when we talk about beginners, then the ideal brand to choose is the ardex k10 reactivatable brand.
This brand has an extended time period of 20-25 minutes which can allow you to reverse your mistakes If there are any made. While the troweling and cornering also get enough time to redo any mistakes.
Once the compound mixture is set and applied, you can easily walk onto the floors within 3 hours, while the installation process of the other floors can be completed within 5-6 hours from the time of the application.
While most of the floors need at least a minimum of 24 hours to be installed and walked on. This brand also requires a primer and will cost you around 40-50$ per 50pounder bag.
You can pour up to at least 0.5 inches thick and dense layers, which can also be multiple.
For the multiple layers, each layer will require at least more layers of the primer within 3 hours of waiting time between the application.
Best Used For
It is best for beginners because they can easily apply and use it because of the extra drying time.
5. Maipei Novoplan 2 Plus
Mapei brand is a well-known brand in manufacturing water-based and acrylic-based products. But the maipei novoplan 2 plus is one of the top-rated products of maipei.
After pouring, maipei novoplan takes almost about 12-15 minutes set time. For most of the flooring types, full cure time is required, which is usually around 48 hours.
But for the ceramic and porcelain tiles, a minimum of 24 hours are required. Novoplan 2 plus is best suitable for planned floors as well as other indoor applications. The mixing ratio varies from 1/8 to ½ thick.
These are also available in 50 pounder bags, depending on the retailer, and the cost is around 25-30$. The novoplan is considered to be the most affordable, and no inclusion of the primer may be one of the reasons behind that.
But you will need the primer separately for the process. So, make sure to keep in mind the additional expense of buying primer.
Best Used For
Its best use is for indoor interiors.
Pros of Self-Leveling Concrete
There are many pros of self-leveling concrete over the various other subfloors. These include;
Easy to Use
The self-leveling concrete is mostly a DIY procedure that can be easily performed with a few manual instructions.
Multiple Options
The acrylic-based product is a bit more flexible and rigid. In contrast, the water-based product has a better tendency to dry out pretty quickly and is much stronger than concrete.
Capable of Heat Radiance
The self-leveling concrete is highly rated because of the element of heat radiance, which is why most brands use it.
Quick and Fast Action
This compound is quick and strong and usually takes less than 10 minutes to get ready. Whereas for most of the flooring types, it takes around 1-hour maximum.
Safe for Allergic Reactions
This setup is totally safe for any allergic reaction. You may see occupational asthma problems in a regular concrete working environment, but self-level concrete never causes such issues.
Cons of Self-Leveling Concrete
With so many advantages to self leveling concrete, there are some drawbacks too:
Quick Drying
The self leveling concrete dried up very quickly. You have to progress rapidly in this work to finish the surface.
Firm Adhesive with Tools
It is highly recommended to clean all the gears immediately after use in the self-leveling concrete process; otherwise, this material will stick to these tools very quickly.
FAQs – Frequently Asked Questions
Can I Make My Own Self Leveling Concrete?
Self-leveling concrete for homes is made with different compounds and is in liquid form. There are only a few brands offering powder formula.
Trusting the commercial self leveling concrete products is recommended instead of making your formula.
Can You Pour Self Leveling Concrete Over Existing Concrete?
You can self-level overlay over existing concrete floors in your homes, but you have to first prepare the older concrete floor. It will ease up your job to some extent.
How Thick Can You Use Self Leveling Concrete?
You can add a feather edge of 5 to 8 inches thick to use in self leveling concrete. These are the standard thicknesses but may vary depending on the existing surface condition.
Does Self Leveling Concrete Really Work?
The self-level concrete will pour into the surface to fix the pitting and cracking. It will level and cover the uneven subfloor.
Why Is Self Leveling Concrete so Expensive?
The cost of self leveling concrete is expensive because of its material and labor. You can cut down the labor charges by doing this task with a DIY attitude.
What Is the Best Self Leveling Concrete?
Akona self leveling floor underlayment can be considered the best self leveling concrete. It is a purely water-based formula and an ideal interior underlayment floor featuring the radiance of heat.
How Do You Use Self Leveling Concrete Caulking?
The silicone caulk fills the holes and cracks in the floor. The self leveling sealant for homes provides a more excellent adhesion set up to caulk self leveling concrete.
Final Thoughts
Hopefully, you understand self leveling concrete process and all its wear and tear. This DIY project is extremely easy to handle and can save your investment to a greater extent.
The key is to do this task with the right method. The proven guidelines provided in this informative guide will surely give you great first-hand experience in flooring installation.
Once you successfully do this task perfectly, you will quickly become a game-changer from an amateur level. Best of luck with this DIY project!
 Preparation
 Mixing and Pouring
Leave a Reply