Are you looking to replace the shower valve due to leakage?
Like all other types, leaks can also happen at two-handle shower valves. It is used excessively, so it is common to have a leaky shower valve. You must fix the issue as quickly as you notice the leak before the problem worsens.
It’s a simple task you can easily DIY, and doing it by a professional will be costly. This article will discuss replacing two-handle shower valves with the tools available at every home.
How to Replace Two Handle Shower Valve?
- Gather all the required tools and materials.
- Turn off the supply of water.
- Take out the handles, stems, and all other parts.
- Remove the faulty valve.
- Now, install the new two-handle shower valve.
- Turn on the supply of water.
Tools and Materials Required
- 4-in-1 screwdriver
- Wrench or slip joint pliers
- New Shower Valve
- Teflon Tape
How to Replace Shower Valve?
To replace two handle shower valves, follow the procedure described below.
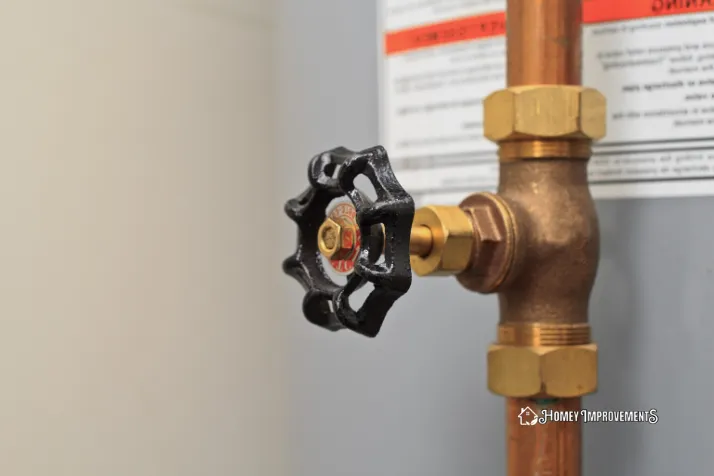
 Step 1. Close the Water Supply Valve
It would be best to close the valve that supplies water during plumbing work. So, before replacing the valve, turn off the water source. After that, turn on the water tap to release the pressure in the pipes. Now, move to the next step.
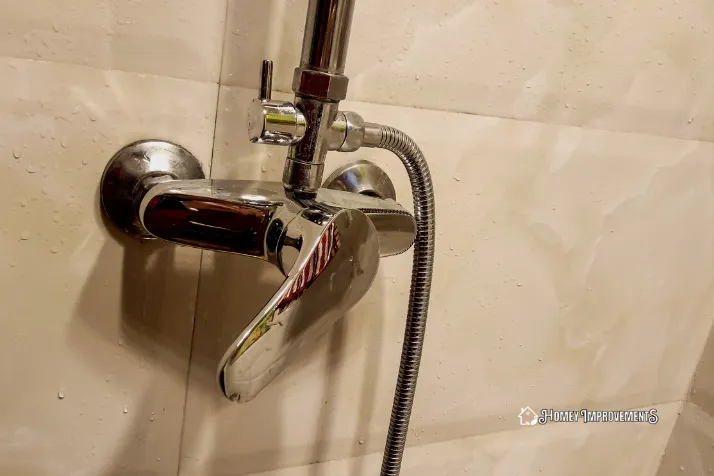
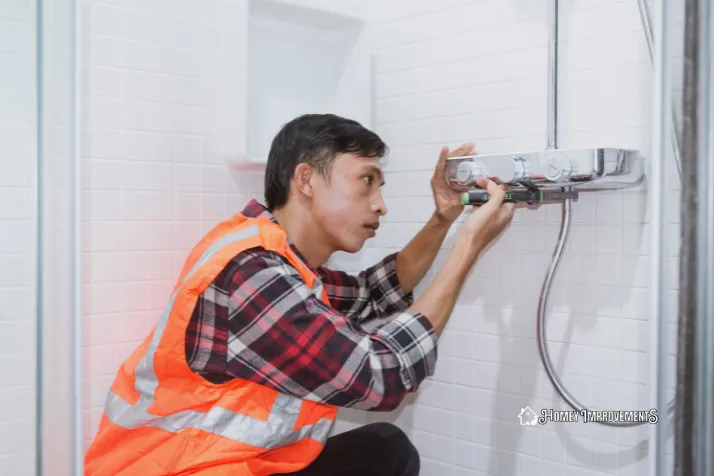
 Step 2. Removing Shower Handles and Stems
Carefully remove the handle of the shower valve according to its type. If it is made of decorative material like glass, there will be a cap over its bolt. Use a flathead screwdriver to remove the cap, then unscrew the bolt.
Take out the handle and keep it in a safe place. Now remove the cover of the handle. If it is connected to the walls with screws, loosen them with a screwdriver.
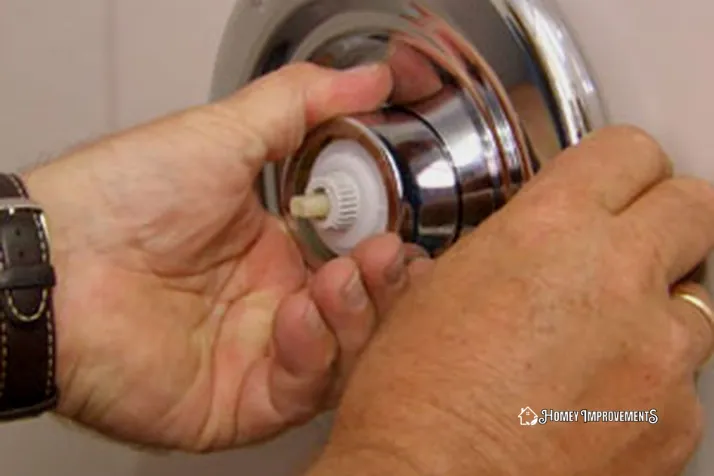
It’s a good idea to keep placing all the pieces safely. Pull out all the things that are located before the valve. Now, remove the stem carefully using a wrench or pliers.
 Step 3. Pry Out the Defective Valve
After removing the valve and all its parts, the next step depends on the construction design of the bathroom. The process will be easy if you go around the wall. Otherwise, you have to make a hole in the wall.
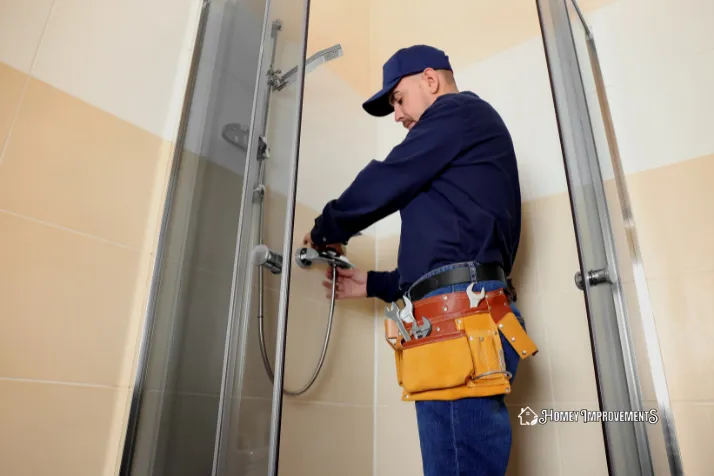
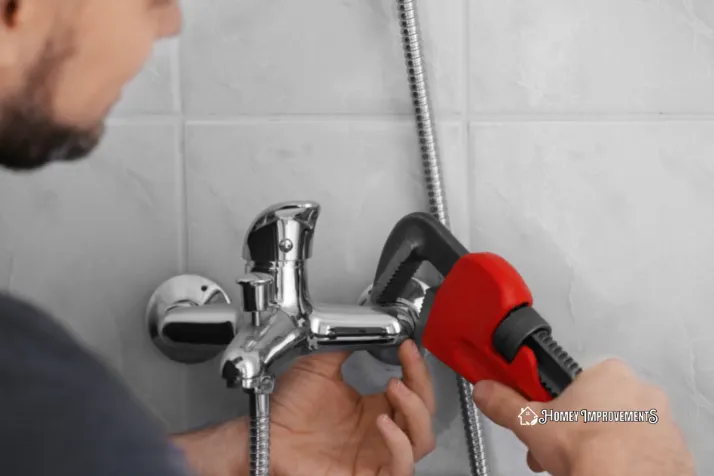
Carefully separate the defective valve from the hot and cold water pipes. If it’s connected to the showerhead, remove it from the pipes. Use an adjustable wrench to unscrew them.
After removing the faulty valve, remove it and keep it in a safe place to use. Be careful while taking out the old valve.
 Step 4. Valve Replacement
The position of the new valve should be the same as the old valve. Screw the new one into the pipes using the right tools. Make sure you fit all the pipes correctly because a mistake can create a big issue.
The joins and connectors can be wrapped with Teflon tape, which is ideal for preventing future leaks. Carefully connect the left waterline pipe with the left vent and the right pipe with the right vent.
After making everything in the right place, your next step is to connect the valve to its exact position. Attach the whole valve assembly to its location. Put the handles, stem, and other components on the shower valve.
 Step 5. Turn on the Water Supply
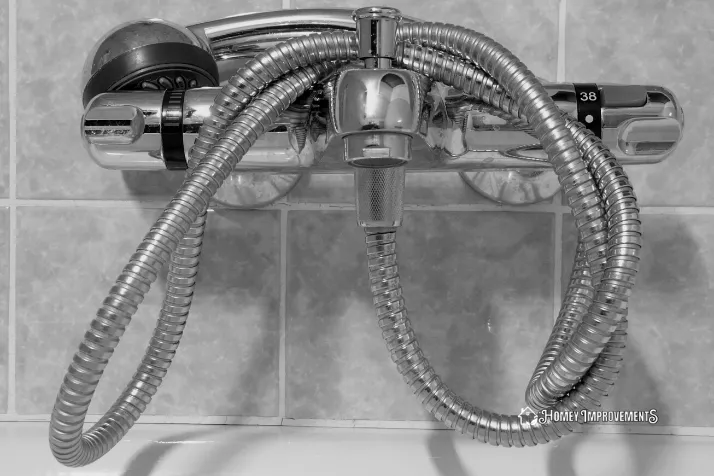
Switch on the water supply and check the new valve. Open both faucets and check every component thoroughly. If you don’t find any leaks, your two-handle shower valve replacement is successful.
Causes to Replace Two Handle Shower Valve
You may want to replace your shower valve due to several reasons. If you have repaired it many times and it works no longer. This issue can be fixed by replacing it.
When your shower valve breaks, it should be repaired or replaced immediately. Sometimes, when it breaks, and you don’t find the same parts, you must replace it with the new one.
If a two-handle shower valve encounters water with a higher pH level than normal, it can cause corrosion. So, it would be best if you replace it with shower valves that are perfect for this condition.
Common Issues with Shower Valve Replacement
There are some issues that you might experience while replacing a shower valve. After installing the shower valve, you may not find it better as expected.
It is an easy task, but sometimes you find it difficult when you can’t get access to the inside wall. This problem occurs due to the construction of your bathroom, and you must tear down the wall.
If your old shower pipes are steel-made, you can find them difficult to cut.
Replacing Old Two-Handle Shower Valve
If your old two-handle shower valve cannot repair, you must replace it. Buy a replacement which is identical to the old one. And keep in mind the new product should be according to the area and the plumbing work. It should be well-matched with the faucet of your shower.
Step 1.
Before fixing it to the pipes, secure it to a safety nut and make sure it is tightly fixed.
Step 2.
After fixing the valve, inspect the area and check it works well after turning on the water supply. Carefully check every component for leaks and other issues.
Step 3.
Fasten the trim plate and the knob. Now, the two-handle shower valve is ready to use.
Clean the area around the new valve thoroughly before using it. After it, you will not get a chance to clean this area from soap scum and calcium residues.
Replacement of A Two-Handle Shower Valve with One Handle Unit
You can replace your two-handle shower valve with a single-handle unit. You will need a conversion plate, drill, other tools, and materials for this purpose.
Due to the two-handle shower valve, the conversion plate will have two holes. Following the same method discussed above, remove the current 2-handle shower valve. Drill a hole so the existing piping is connected to the new valve.
Attach the two-handle shower valve with the same nut to secure the new valve. Now, connect with the pipes that supply water. After replacement, check everything thoroughly for leaks.
FAQs – Frequently Asked Questions
How to Know Which 2-Handle Shower Valve I Have?
Measure the faucet and find out the number of handles. If the handles are two, then it is a double-handle faucet.
This shows that there are two separate stops for hot and cold water. Shower faucets also come with one or three handles. 3-handles faucets are very rare.
Is it Possible to Change the Shower Valve without Removing the Tile?
The removal of tile might be required around the shower valve to change the shower valve. For this purpose, contacting a plumber to remove enough tiles as needed will be good.
How to Repair a Delta 2 Handle Shower Faucet?
Take a knife or flat head screwdriver to remove the cap from the shower faucet. You will see screws on the handle. Take them out using the screwdriver and remove the handle.
There will be plates behind the handles; remove them also. Take a wrench and screw off the other components. Use pliers to pull the cartridge assembly and needle-nose pliers to take out the rubber washer, seal, and spring.
The leakage occurs due to the broken seal and spring. Replace them with the new products and get everything back again.
Is Shower Handle Replacement Easy?
Shower handle replacement is an easy task. You must remove the old one and install a new one with suitable tools.
How to Remove the Double Shower Handle?
Remove both handles of the shower using a screwdriver. If the screws are not visible on top, caps will be on them. Take them out with a knife, and you will see the bolts.
Final Thoughts
This article taught you how to replace two-handle shower valves. If the old valve is damaged and unrepairable, you can fix the issue by replacing it with a new one.
Make sure you complete every step carefully to get a successful job, and the leaks don’t occur again. Always purchase high-quality products if you want your shower valve to remain in good condition for years. Otherwise, you will be replacing it repeatedly.
You must not replace the whole assembly if the problem is only in some parts. Replace only the components that are broken. Contact a plumber in case of any difficulty.
 Step 2. Removing Shower Handles and Stems
 Step 5. Turn on the Water Supply
Leave a Reply