Do you want to filter your water at home?
Water is the basic need of life. Living things can survive without eating food for many days but not without drinking water. So, this making a DIY water filtration system helps a lot, especially in areas where clean water is difficult to access.
While making your own filtration system at home, you must strain all the materials from the water which are hazardous to our health. In this article, we will learn how to make a water filter at home by a DIY route.
How to Make a Homemade Water Filtration System?
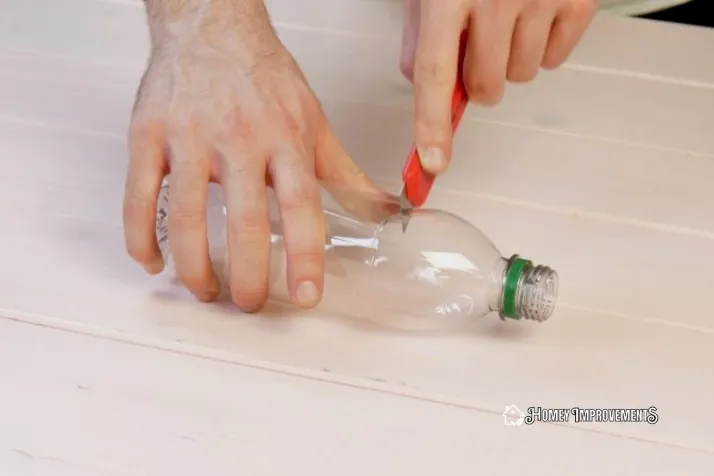
- Take a plastic bottle and cut its bottom part.
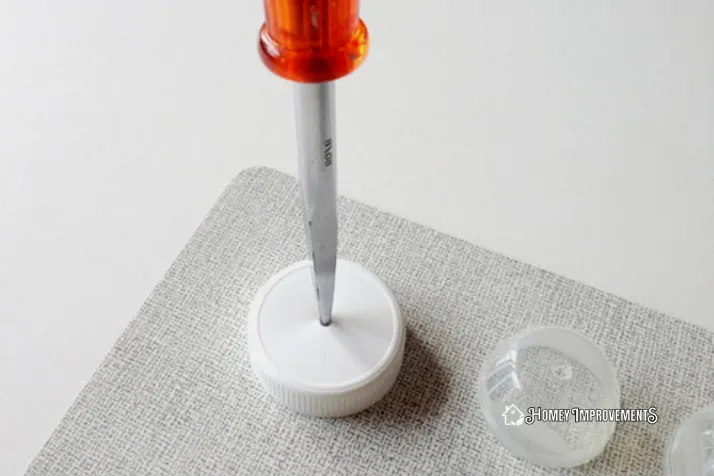
- Make a hole in the cap of the bottle using a hammer and nail.
- Cover the opening of the bottle with a coffee filter and tighten it with the lid.
- Now place the bottle into a clean mug with its cap down.
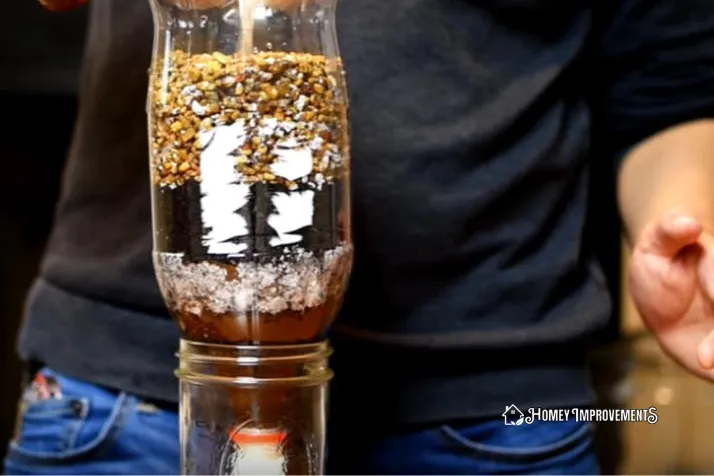
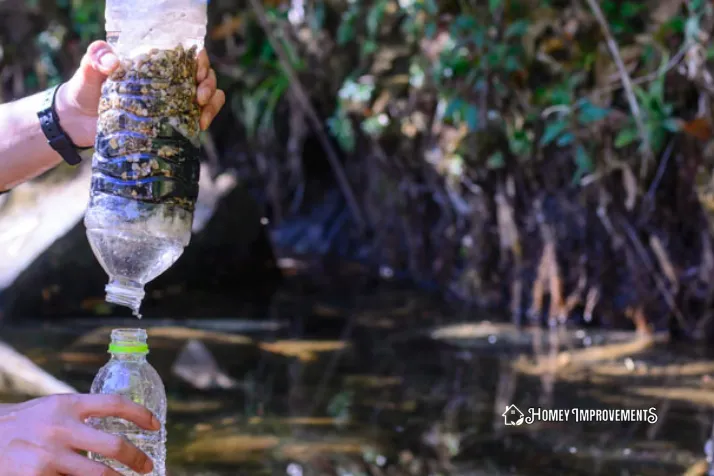
- Make layers of charcoal, sand, and gravel in the bottle by pouring them one by one.
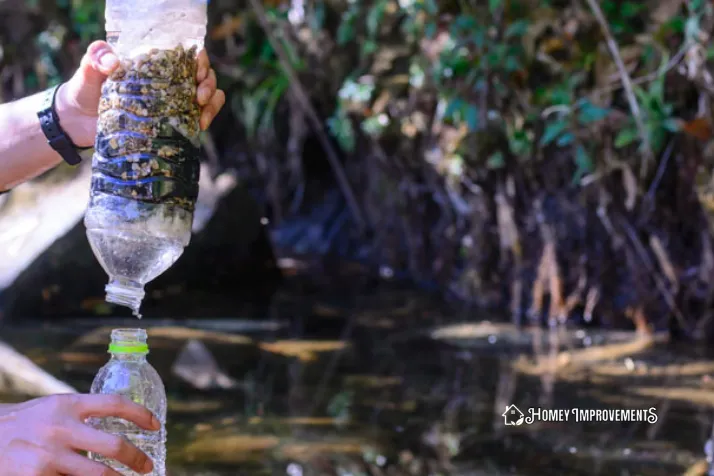
- Now start pouring water into the bottle and you will get clean water in the mug.
- If the water is not clear repeat the process.
- Boil the filtered water and it’s ready to drink.
DIY Water Purifier for Home
Step 1. Gathering all the Tools and Materials
In this method, we will make a water filter in which we will use different layers to purify the water. Before using it for drinking purposes, you must boil it. The tools and materials which will be required are as follows:
- Plastic bottle
- Gravel
- Craft Knife
- Coffee filter
- Activated charcoal
- Hammer and nail
- Sand
- Mug
Step 2. Cut the Plastic Bottle
From the bottom part of the plastic bottle cut with a craft knife. Cut 2.54 centimeters of the bottle from the bottom. While cutting the bottle, put the knife on the bottle and slowly start cutting it. You will feel that its cutting is easy and it will cut quickly.
If you are a kid, you can take help from your elders. Now, you have to add handles to the part of the bottle which has cap. The purpose of these handles is to hang them while filtering the water.
Make two holes near the cut edges of the bottle but make sure the holes are opposite to each other. Place a string piece into the holes and tie them in a knot.
Step 3. Make a Hole in the Cap of The Bottle
Make a hole in the bottle’s cap with a hammer and nail. This will make the flow of water slow inside the bottle and will make the filtration system more effective. If you don’t want to use the nail and cap then use the craft knife to make an X shape cut on the cap.
Step 4. Tighten the Cap Over the Coffee Filter
On the mouth of the bottle, place the coffee filter and tighten the cap over it. The purpose of using a coffee filter is to keep the activated charcoal inside the bottle and protect it from falling. Similarly, the cap will protect the coffee filter from falling.
Step 5. Keep the Cap Side of The Bottle in a Mug
The cap’s side should be down and put into a mug. In this way, the bottle will remain steady when filling it. If you don’t want to use a mug or cup, you can hold it with your hands to keep the bottle steady.
Step 6. Filling Activated Charcoal to the Bottle
Now add activated charcoal to the bottle. If it’s available in large pieces, crush them to make these large pieces smaller. For this purpose, hold it in a cloth and use a hammer to hit it. Make sure the size of the piece is enough as a pea have.
It can create a mess on your hands. So, it’s a good idea to wear gloves before doing this step.
Step 7. Pour Sand Over the Charcoal
You can use any type of sand to make this filter but remember don’t use colored sand which is used for crafts because it may add color to the filter. The thickness of the sand layer should be the same as the charcoal layer.
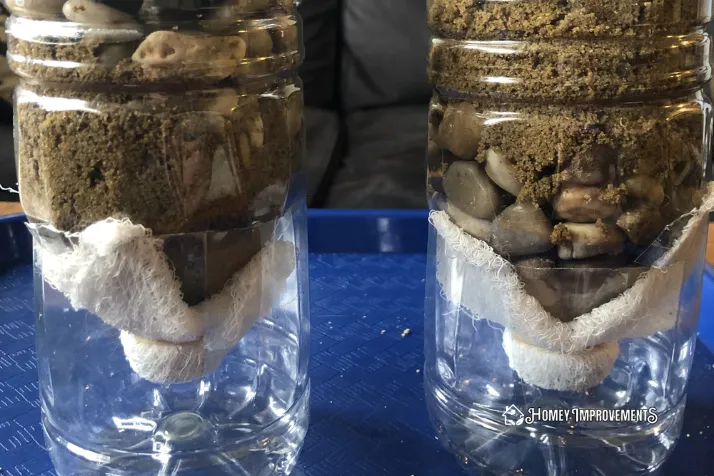
By adding sand and charcoal to the bottle, it should be more than half filled now. Try to use a mixture coarse grained and fine-grained sand. The finer particles of the sand will go over the charcoal layer and the coarse-grained sand will come over the fine-grained sand.
In this way, the water will pass through many layers and it will be purified by passing through different things.
Step 8. Add Gravel on the Sand Layer
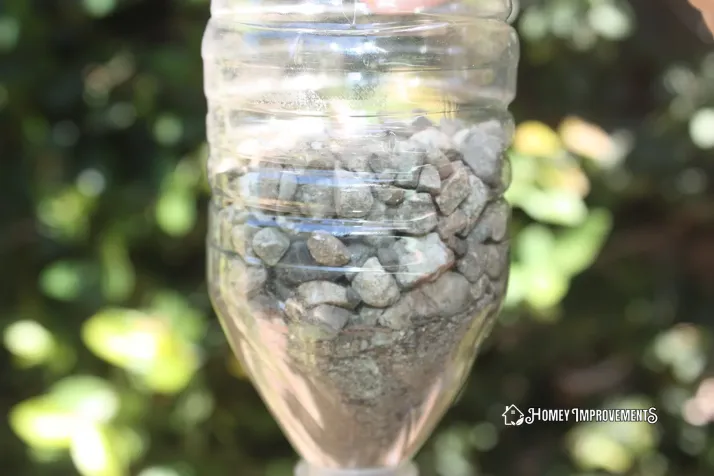
Now put the gravel over the sand layer but don’t fill the bottle completely. Make sure you have left almost an inch of space empty above the gravel. Due to this, if the water didn’t drain quickly, it may spill over.
Like the sand layer, try to use gravel as a mixture of fine-grained and chunky gravel. The fine particles will go first on the top of the sand layer and the chunky gravel will come after that.
Step 9. Choosing a Container to Catch Water
Choose any container to catch the clean water. You can use anything like a jar, mug, or bowl but it should be clean and the container should be such that it can hold the bottle steady.
Step 10. Keep the Bottle in the Mug
Place the bottle in the mug or any container you are using. The cap side of the bottle should be down. If the bottle doesn’t come fit in the opening of the container you are using, you will need to hold the bottle in the whole process.
You can hang the bottle up with the handles and keep the cap side in the mug or jar.
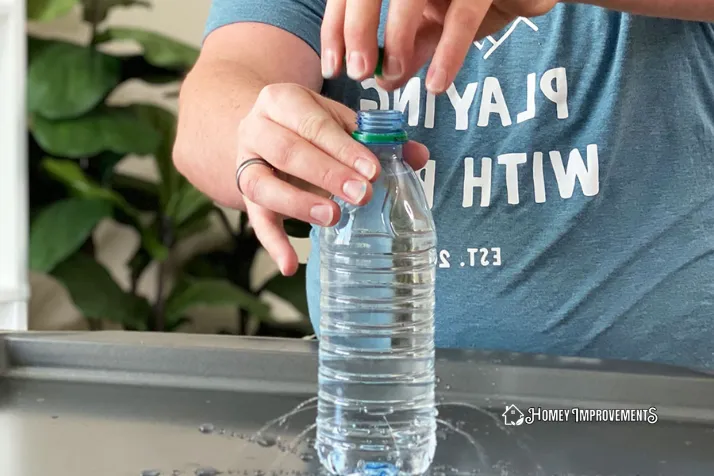
Step 11. Pour Water into the Filter
Now start pouring the water into the filter. Don’t pour it quickly otherwise the water will overflow and it will not drain. When the water reaches the top, wait for it to go down. When the water disappears on the tip of the bottle, pour more water.
Water will take almost 7 – 10 minutes to pass through different layers. Wait for the water that comes to the jar.
Step 12. If Water is Not Clear Filter it Again
Make sure the flow of water has finished and the mug is filled with filtered water. If you notice the water is not clear, repeat all the steps of filtering it. Keep a new and clean mug under the bottle and start pouring the water again.
You may need to repeat the process 2 – 3 times until the water has become clear.
Step 13. Boiling the Water
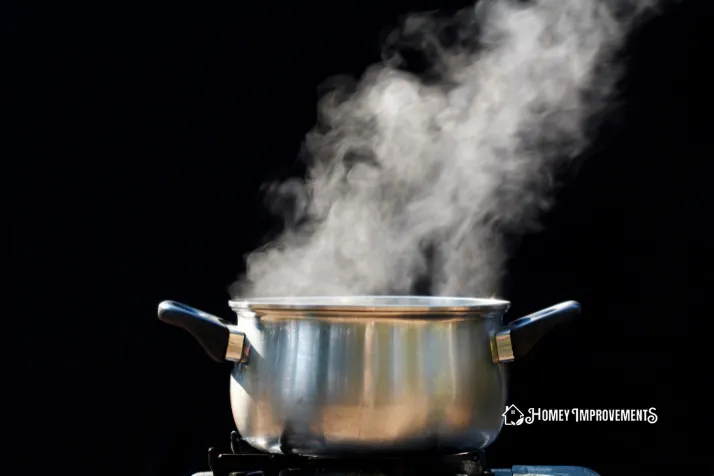
When you notice that the water has become clear, you should boil it for one minute. Boiling filtered water is very necessary because it may contain harmful germs and bacteria which are hazardous to our health.
If the area where you are living is 1000 meters above sea level, you should boil the water for at least three minutes.
Step 14. Let the Water Cool
Wait for the water to cool down. After cooling, store it in an airtight and clean bottle. However, use it soon and don’t keep it for a long time because germs and bacteria grow in still water.
FAQs – Frequently Asked Questions
How to Make a Water Filter at Home?
A water filter can be made easily at home. Cut a plastic bottle from its bottom and put a coffee filter on the cap opening of the bottle. Now, keep the cap on the filter and tighten it properly.
Place it into a jar or mug and put layers of charcoal, sand, and gravel into the bottle. Now start pouring water and get clean water in the mug. Repeat this process if the water is not clear and when you get clean water boil it which is ready to drink after cooling.
Which Materials are Best for a Water Filter?
There are many natural materials that you can use to filter water such as sand, carbon, ceramic, and more.
What We Can Use as a Water Filter?
Water can be filtered in different ways:
- Boiling it for at least one minute.
- Tablets or drops are available that clean water.
- Through UV treatment
- Fruit peel filters
- Activated charcoal
Is it Possible to Filter Water Using Cotton Balls?
Cotton balls can be used in the water filtration process. When water passes through the layers of different materials, they find its way to drain. But the particles which are present in the water are trapped in the cotton balls or other filtering materials. In this way, water is cleaned.
Is Any Natural Water Filter Available?
Water can be filtered naturally using gravel, charcoal, sand, and more materials. When water passes through these layers, it is cleaned.
Final Thoughts
There are many areas where clean and filtered bottle is not available so we can make a homemade filter easy to clean the water. However, you should carry on the cleaning process if it is not clear.
The filtered water is not drinkable until it is boiled for at least one minute. Through boiling the water all the germs and bacteria kills which are dangerous for our health. Don’t keep water for a long time because still water causes the growth of bacteria and microorganisms.
Leave a Reply